Dryer Vent Cleaning: Simple Steps To Protect Your Home
Introduction to Dryer Vent Cleaning
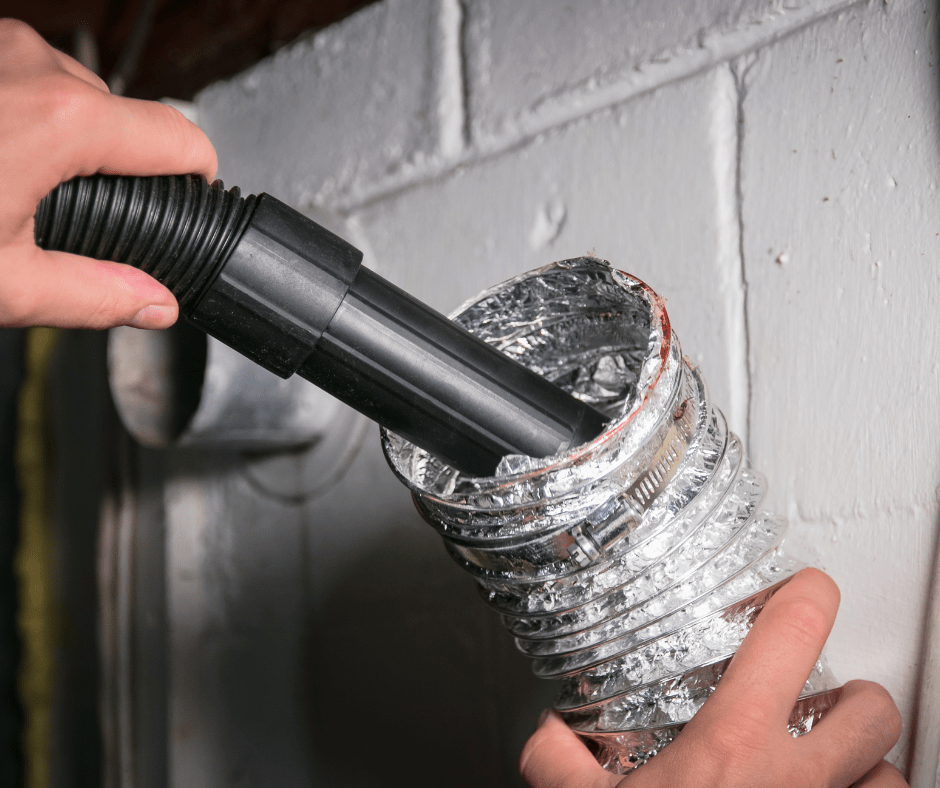
Dryer vent cleaning might seem like a small task, but it can have a significant impact on your home’s safety and your appliance’s efficiency. Lint and debris accumulate over time, creating a blockage that can lead to potential fire hazards and make your dryer work harder than it needs to.
By regularly cleaning the vent, you not only reduce these risks but also save on energy bills and help your dryer last longer. Whether you are a new homeowner or just looking to improve your home maintenance routine, understanding how to clean your dryer vent is a valuable skill.
With just a little bit of effort and the right tools, you can ensure your dryer operates safely and efficiently, protecting both your home and your investment. This guide will equip you with the know-how to tackle this important task with confidence.
Indicators That Your Dryer Vent Requires Cleaning
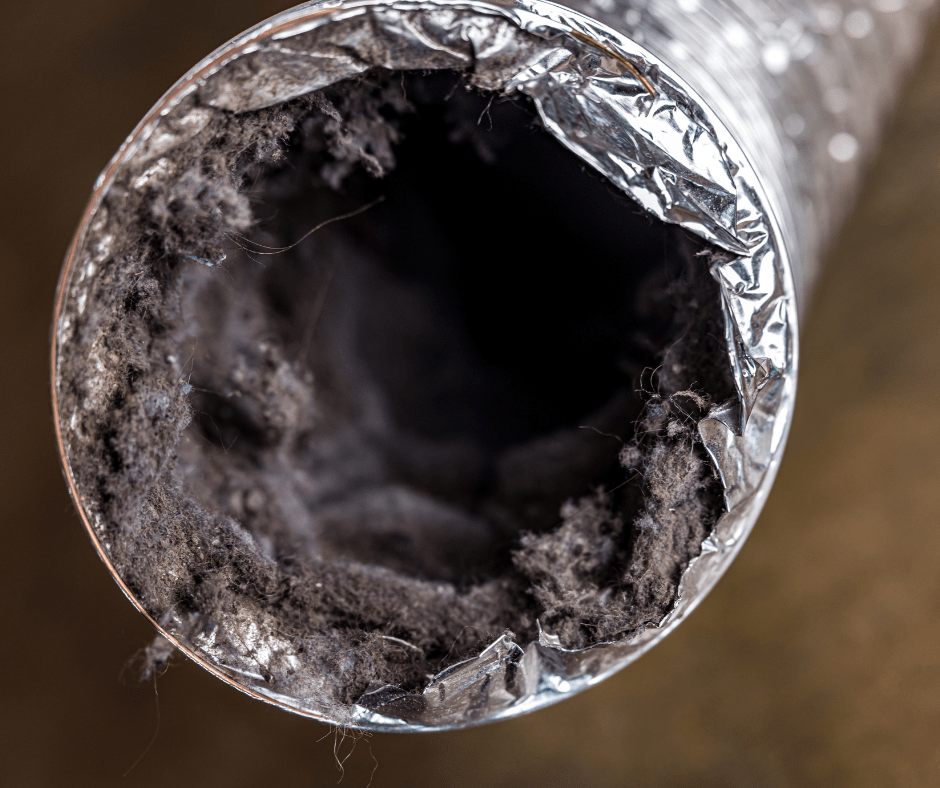
Recognizing when your vent cleaning for your dryer needs to be performed is crucial for maintaining a safe and efficient home. One of the most noticeable signs is when your clothes take longer to dry than usual. This extended drying time can indicate that lint is obstructing the airflow, making it harder for your dryer to do its job.
Another red flag is if your dryer feels unusually hot to the touch or if the laundry room becomes warmer than normal when the dryer is running. You might also detect a burning smell, which is a serious warning that should prompt immediate action.
Excessive lint accumulation around the dryer vent opening or on the lint screen even after cleaning can also be a sign of blockage. Additionally, if you see lint or debris collecting outside the vent exit, it’s a good indication that the vent needs attention. Being aware of these signs can help you address issues promptly, preventing potential hazards and maintaining the efficiency of your dryer.
Necessary Tools and Supplies
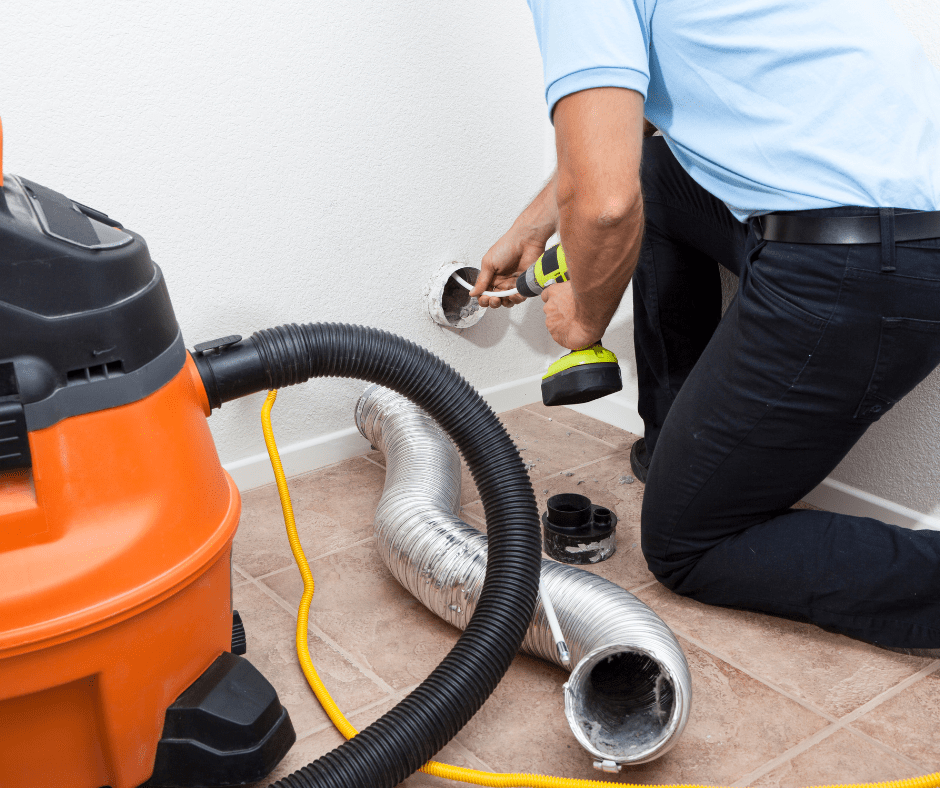
Before diving into the task, having the right tools and supplies on hand will make the vent cleaning process smooth and effective. Here’s what you’ll need:
1. Dryer Vent Cleaning Kit: A comprehensive kit usually includes a flexible rod and a brush attachment designed to navigate the curves and bends of your vent system. These kits are readily available at most home improvement stores and are specifically designed to tackle lint build-up in dryer vents.
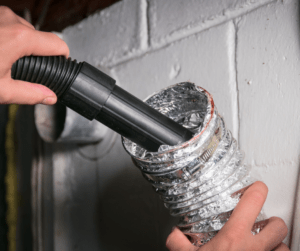
2. Vacuum Cleaner with Hose Attachment: A vacuum cleaner equipped with a hose attachment can help you remove lint and debris that the brush dislodges. This step is crucial for ensuring that the vent is completely clear and that no particles are left behind to cause future blockages.
3. Screwdriver or Nut Driver: Depending on how your vent is attached, you may need a screwdriver or nut driver to detach the vent from the dryer and wall. This tool will help you gain better access to the vent for a more thorough cleaning.
4. Safety Equipment: It’s important to protect yourself from dust and allergens. Wear gloves to protect your hands and a dust mask to prevent inhaling any particles that might get stirred up during the cleaning process.
5. Duct Tape: Keep some duct tape handy to reseal any connections you may have to detach during the cleaning process. Ensuring a secure and airtight connection will help maintain the efficiency of your dryer.
6. Flashlight: A flashlight can be incredibly helpful, especially if you’re working in a dimly lit area. It allows you to see inside the vent and ensure that all debris has been removed.
7. Ladder (if needed): If your dryer vent exits through the roof or an upper story wall, a sturdy ladder will be necessary to reach the vent cap outside your home.
Having these tools and supplies ready will make your dryer vent cleaning task more efficient and thorough. With the right preparation, you’ll be well on your way to ensuring your dryer operates safely and effectively
Detailed Guide to the Cleaning Procedure
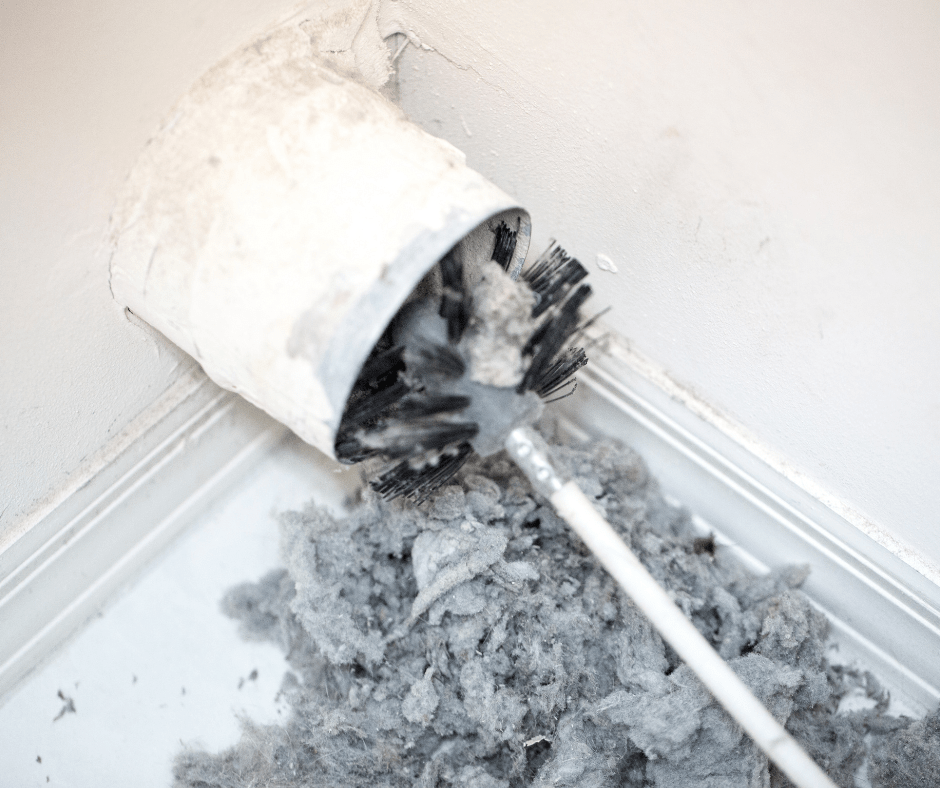
To begin, ensure your dryer is unplugged to avoid any electrical hazards. Move the dryer slightly away from the wall to gain access to the vent. Using your screwdriver or nut driver, carefully detach the vent from the back of the dryer. This will allow you to get a better look at any accumulated lint or debris.
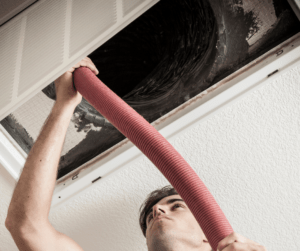
Next, take your dryer vent cleaning kit and insert the brush into the vent opening. Use gentle, steady movements to push the brush through the vent, dislodging any lint or debris along the way. You may need to twist the brush to navigate any bends in the vent. Be patient and thorough to ensure you reach all areas within the vent.
After you’ve loosened the lint, use your vacuum cleaner with the hose attachment to suck out the debris. This step is vital to remove all the particles that could cause future blockages. Make sure to vacuum both inside the vent and around the opening for a complete clean.
Once the vent is clear, take a moment to check the vent hose for any cracks or damage. Replace it if necessary to maintain optimal performance. Now, reattach the vent to the back of the dryer using the screwdriver or nut driver. Ensure that all connections are tight and secure, as a loose connection can lead to inefficiencies.
If your dryer vent leads to an outside exit, don’t forget to inspect and clean the vent cap outside your home. Remove any visible lint or debris to ensure that air can flow freely.
Finally, slide your dryer back into place, plug it back in, and give it a test run. Listen for any unusual sounds and check that it’s drying efficiently. Regular maintenance will help you catch issues early and keep your dryer running smoothly.
Tips for Ongoing Maintenance and Prevention
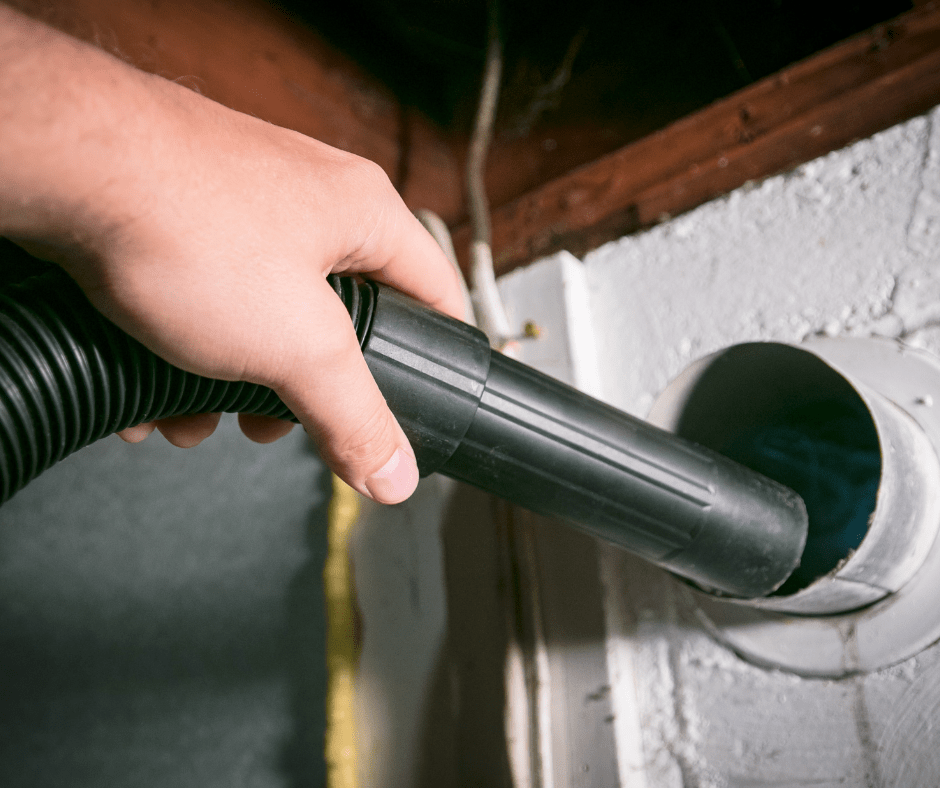
Establishing a consistent maintenance routine for your dryer vent can save you time, money, and potential hazards down the line. Aim to clean the vent at least every six months, but consider more frequent cleanings if you use your dryer heavily. A good habit to adopt is checking the vent hose and cap for any signs of damage or blockages each time you clean the lint screen.
For ongoing maintenance, make it a point to regularly vacuum around the dryer and the vent opening. This simple step can help keep lint and dust from accumulating and causing blockages. It’s also beneficial to keep the area around your dryer free from clutter, which can obstruct airflow and reduce the efficiency of your dryer.
Periodically, you should inspect the vent hose for any kinks, bends, or cracks. A damaged hose can restrict airflow and lead to overheating, so replacing it promptly is crucial. Additionally, make sure the vent cap outside your home is clear of debris and functioning correctly to allow for proper ventilation.
Another helpful tip is to avoid overloading your dryer. Large loads can produce more lint, increasing the risk of blockages. By running smaller loads, you can reduce lint build-up and improve drying efficiency.
Keeping an eye on how your dryer performs can also serve as a preventative measure. If you notice any unusual sounds, extended drying times, or excessive heat in your home, it could be a sign that your vent needs attention sooner than your scheduled cleaning.
By incorporating these simple habits into your routine, you can maintain an efficient, safe, and long-lasting dryer system in your home.
Knowing When to Contact a Professional
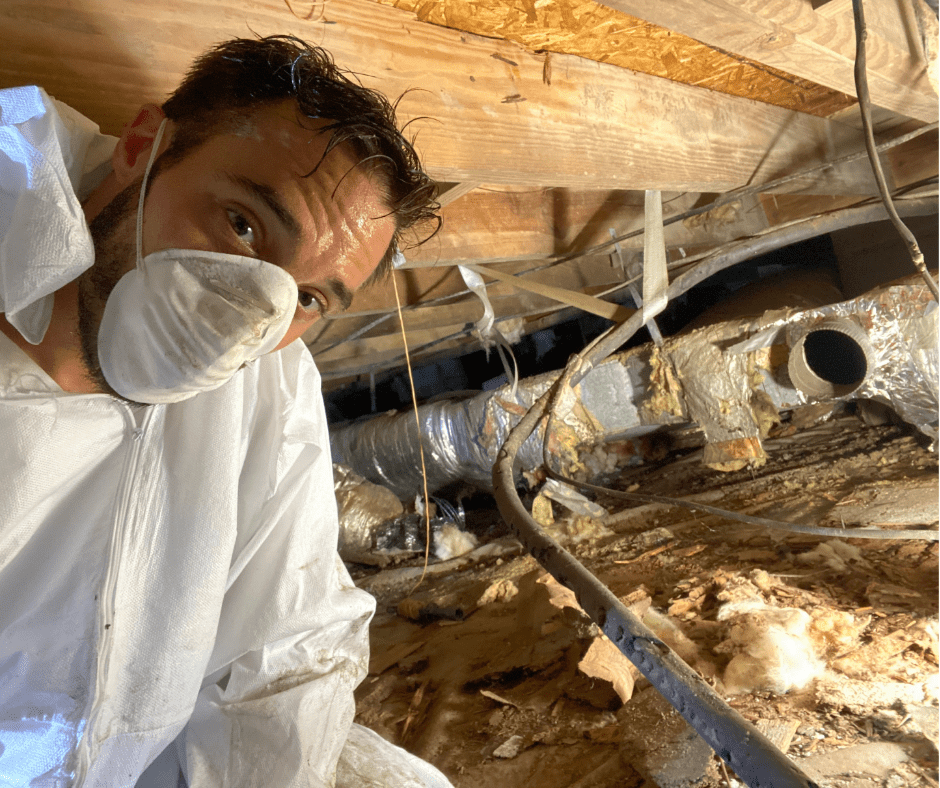
While cleaning your dryer vent can often be a manageable DIY task, there are times when it’s wise to seek professional vent cleaning assistance. For instance, if you’ve cleaned the vent but still notice that your clothes are taking too long to dry, this could indicate a deeper issue that requires expert attention. Additionally, if you encounter complex vent systems that run through multiple floors or tight spaces, most residential and commercial HVAC professionals have the necessary equipment and know-how to handle these tricky setups efficiently.
Another scenario that might call for professional help is if you notice damage to the vent or ductwork, such as cracks or significant wear and tear. Professionals can properly repair or replace these parts, ensuring that your dryer operates safely and effectively. Persistent issues like recurring lint build-up or unusual noises could also be signs of underlying heating problems that a professional can diagnose and fix.
It’s also important to consider safety. If you’re uncomfortable working with electrical appliances or climbing ladders to reach exterior vent caps, leaving the repair or installation job to professionals can prevent accidents and ensure the job is done right. They have the right tools to remove stubborn lint and debris completely, reducing the risk of fire and enhancing your dryer’s performance.
Moreover, if you’ve recently moved into a new home, it can be beneficial to have a professional inspect and clean the dryer vent system. This initial thorough cleaning sets a good baseline for your future maintenance efforts and ensures there are no pre-existing issues that could pose hazards.
Professional residential or commercial vent cleaning services can offer peace of mind, knowing that your dryer vent system is in optimal condition. They not only address the immediate problem but also provide advice on maintaining your system to prevent future issues. By investing in professional help when needed, you protect your home, save time, and ensure your dryer remains efficient and safe to use.
Conclusion
By following the steps you have learned here today you should be able to successfully perform your own dryer vent cleaning on a regular basis to ensure more energy efficient and safe home for yourself and your family.
For more Heating and Cooling tips that will provide you with a more energy efficient home, be sure to read the followign related articles.

