Secrets from Top AC Installers: DIY Ac Installation
Preparation Steps
Before starting the air conditioning installation process, make sure you have all the necessary components and tools. You’ll need measuring tape, a level, a screwdriver, a drill, weatherstripping, and mounting hardware. First, choose the best location for your AC unit. Consider the room’s layout, window accessibility, and proximity to power outlets. The unit should be positioned in a spot that allows for unobstructed airflow and easy access for maintenance.
Measure the dimensions of your chosen area to confirm that the AC unit will fit correctly. Remove any obstructions, such as furniture or decorative items, from the space where the unit will be installed. It’s important to have a clear and clutter-free area to work in to avoid any installation mishaps.
If you’re installing a window unit, check that the window frame is sturdy enough to support the unit’s weight. If needed, reinforce the frame with additional supports. For split HVAC systems, you’ll need to identify suitable locations for both the indoor and outdoor units, keeping in mind the need for efficient airflow and minimal sunlight exposure.
Gather all your tools and equipment in one place before you begin. This includes your measuring tape, level, screwdriver, drill, and any specific items mentioned in the manufacturer’s instructions. Having everything on hand will streamline the process and minimize interruptions and ensure you have installed your unit like professional AC installers would.
Lastly, read through the manufacturer’s instructions thoroughly. Understanding the steps involved and the specific requirements for your air conditioning unit can help you avoid common mistakes. Preparing in advance sets the stage for a smoother installation, making the task less daunting and more manageable.
Understanding AC Unit Types
Choosing the right AC unit type is important for effective cooling. Window units are installed in windows, making them suitable for smaller spaces or single rooms. They are relatively easy to install and often more affordable. However, they can obstruct window views and might not be as efficient for larger spaces.
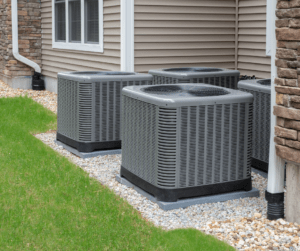
Split AC systems, in contrast, consist of both an indoor and an outdoor unit. They offer superior cooling efficiency and do not occupy window space. These systems are ideal for larger areas or homes where maintaining aesthetics is important. The installation process for split HVAC systems is more complex, usually requiring a professional AC installers to ensure optimal setup.
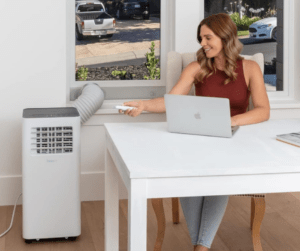
There are also portable AC units, which are convenient for those who need flexibility in moving the unit from room to room. These units require a venting kit to expel hot air, typically through a window, and are a good option for temporary cooling solutions.
Another option is the ductless mini-split system, a variant of the split system, which is perfect for homes without ductwork. These systems offer zoned cooling, allowing you to control temperatures in individual rooms.
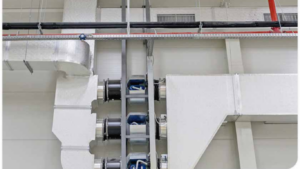
Central air conditioning systems are designed for whole-house cooling, utilizing a network of ducts to distribute air throughout the home. These systems are highly efficient for larger homes but involve higher initial installation costs and require professional AC installers expertise for setup and maintenance.
Each AC unit type has its advantages and disadvantages, so consider your specific needs, room size, and budget when making a choice. This will ensure that you select the most suitable type for your cooling requirements.
Installation Process for Window Units
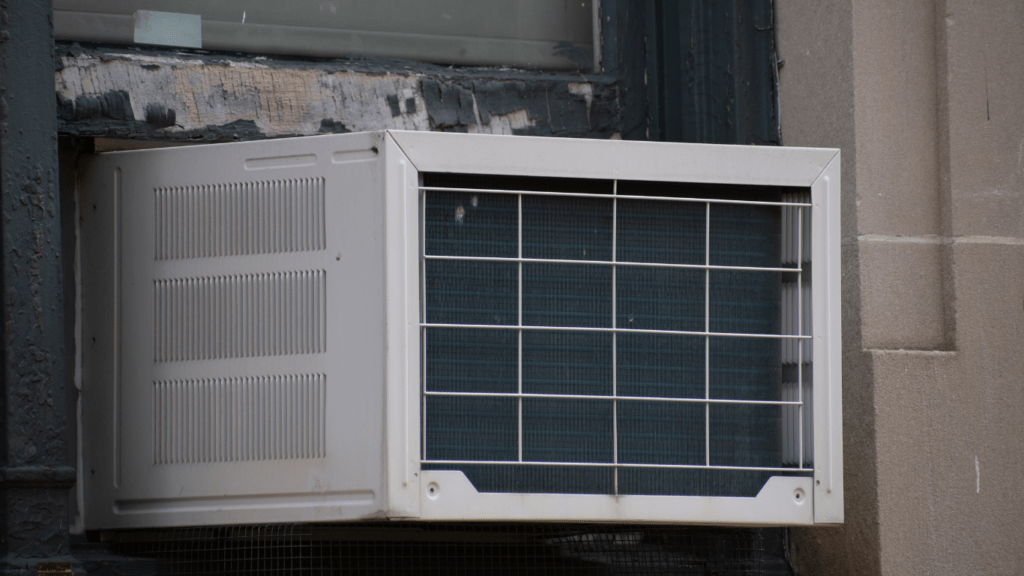
Start by carefully installing the mounting bracket as per the AC installers manufacturer’s instructions. This ensures a secure base for the AC unit. Next, lift the AC unit into the window, ensuring it sits level to avoid drainage problems and maintain efficiency. If necessary, use additional supports to keep the unit steady and secure.
Check that the side panels of the window kit fit snugly against the window frame. Extend and attach these panels to close any gaps, which helps in preventing drafts and enhancing the air conditioning unit’s performance. Secure the panels with screws or adhesive strips provided in the kit.
Apply weatherstripping around the window frame to seal any remaining gaps. This will not only improve energy efficiency but also help in keeping out dust and insects. Make sure the weatherstripping is firmly in place and creates a tight seal.
Attach the window sash locks to ensure the window remains securely closed. This is crucial for both security and maintaining the integrity of the installation. The locks should be tightly fastened to prevent any movement of the window.
Finally, plug the AC unit into an appropriately rated electrical outlet. Use an outlet that matches the air conditioning unit’s electrical requirements to avoid overloading the circuit. Turn on the unit and check for stable operation. Make sure there are no unusual noises or vibrations, which could indicate improper installation or a need for adjustments.
By following these steps, you’ll ensure a stable and efficient setup for your window AC unit just like if professional AC installers had done the job.
Installing a Split System
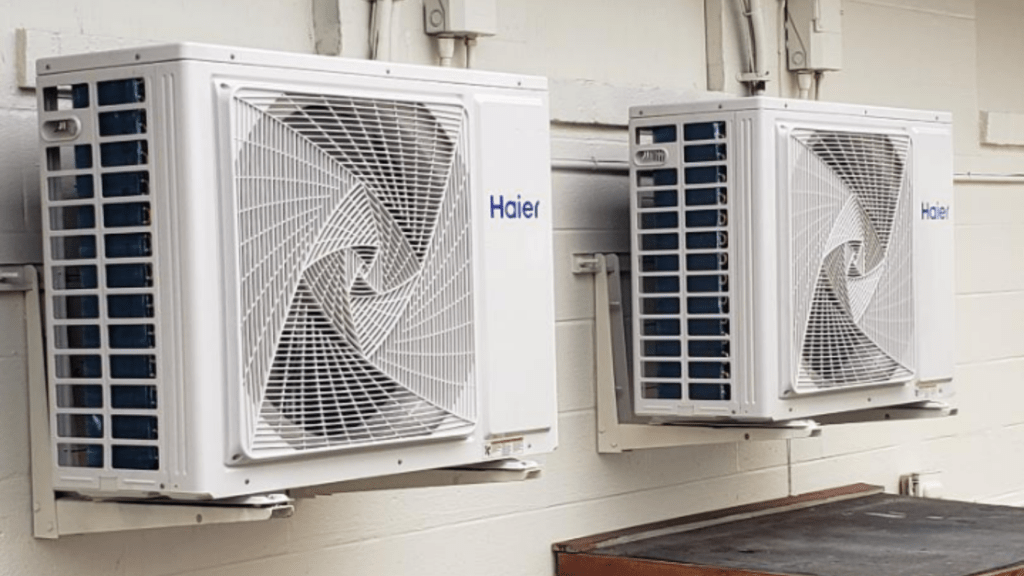
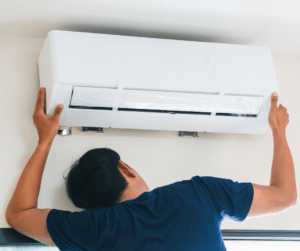
Proper placement of the indoor AC unit is crucial for effective operation. Choose a high spot on the wall to ensure good air circulation and avoid placing it near direct sunlight or heat sources. Mark and drill holes for the pipes and wiring, making sure they align with the outdoor unit. It’s important to create precise openings to avoid issues later on.
Connect the indoor and outdoor HVAC units using the provided pipes and wires. This step demands accuracy, as improper connections can result in leaks or electrical problems. Follow the manufacturer’s guidelines meticulously to ensure all connections are secure. It might be helpful to have a second person assist with holding parts in place as you secure them.
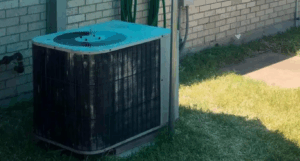
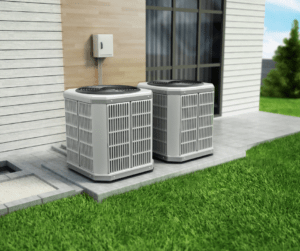
After mounting the indoor AC unit, install the outdoor air conditioning unit on a stable surface. Ensure it is placed in an area with minimal direct sunlight and ample airflow. Fix the unit firmly to its base to prevent vibrations and noise.
Route the refrigerant lines, drain pipe, and electrical wires between the indoor and outdoor units. These should be insulated properly to prevent energy loss and condensation issues. Use clamps and brackets to secure these lines and prevent them from sagging.
Vacuum the refrigerant lines to remove any air and moisture, which can hinder the HVAC system’s performance. Charge the system with the appropriate amount of refrigerant as specified by the manufacturer.
Finally, connect the air conditioning system to the power supply. Double-check all electrical connections and ensure they meet the unit’s requirements. Turn on the system and test for any irregularities. If everything runs smoothly, you’ve successfully installed your split AC system just like professional AC installers.
Electrical and Safety Considerations
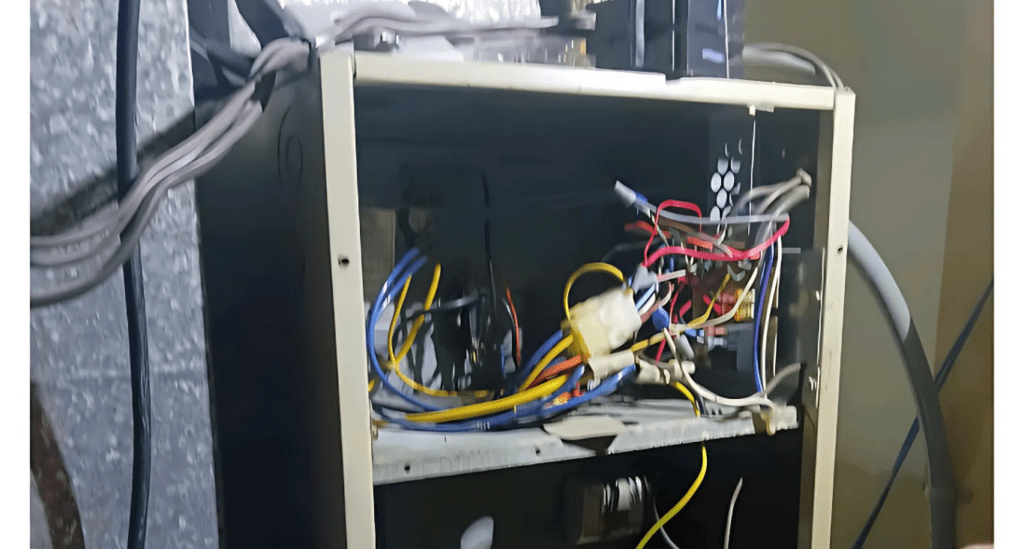
Ensuring your AC unit is installed safely and correctly requires attention to its electrical needs. Before you begin, confirm that your home’s electrical system can handle the unit’s power demands. Each AC unit comes with specifications for voltage and amperage; adhere strictly to these to prevent overloading circuits.
Installing a dedicated circuit for the AC unit is advisable. This reduces the risk of tripping other circuits in your home and ensures consistent heating and cooling performance. Use appropriately rated circuit breakers and wiring, and follow local electrical codes and regulations.
During the ac installation process, always turn off power to the area where you’re working. This precaution helps prevent electric shock. If the AC unit requires any new electrical work, such as installing a new outlet or circuit, it’s best to consult a licensed electrician. Electrical work can be hazardous if not done correctly, and a professional heating and air conditioning contractor will ensure that everything is up to code and safely installed.
Be cautious of sharp edges on the AC unit and the components you’re installing. Wearing protective gloves and eye protection can help prevent injuries. When handling heavy parts, use proper lifting techniques or get help to avoid strains or other injuries.
Additionally, double-check all electrical connections for security and proper insulation. Loose or poorly connected wires can cause shorts or fires. Make sure to use insulated tools when working with electrical components to further reduce the risk of shock.
By meticulously following these safety guidelines and electrical considerations, you help ensure a secure and efficient AC installation process. Your diligence in this step not only protects your home but also enhances the air conditioning unit’s longevity and performance.
Testing and Final Adjustments
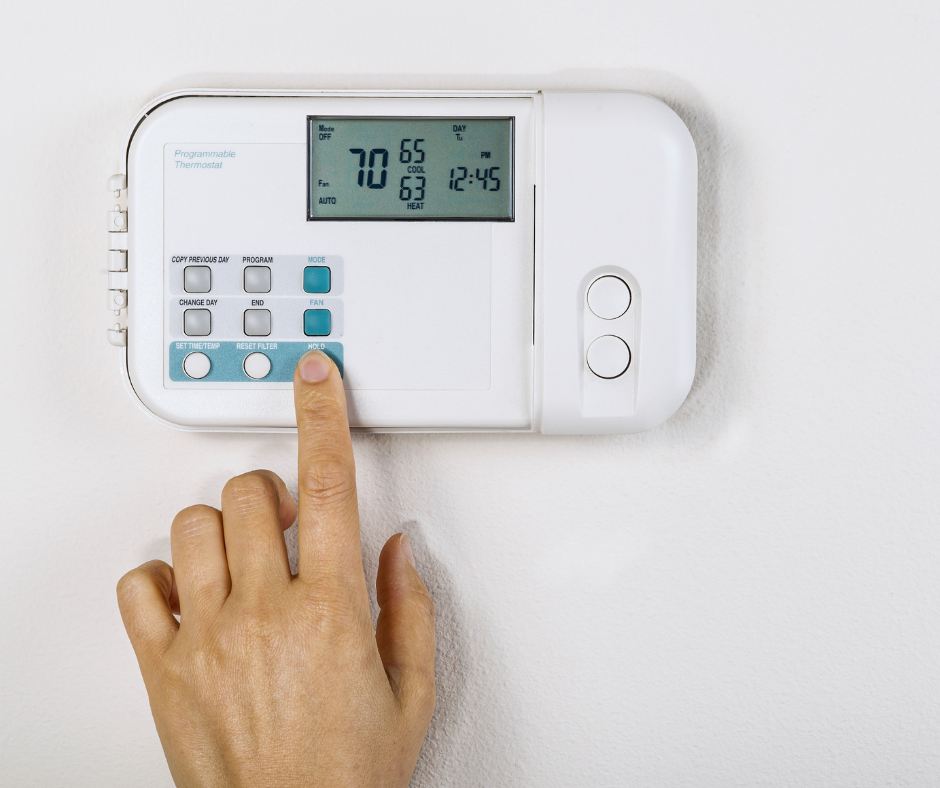
After completing the AC installation, the next step is to test the heating and cooling unit. Turn it on and observe its performance closely. Check for any unusual noises or vibrations that might indicate parts are not properly secured or aligned. Verify there are no leaks, particularly if you’ve installed a split HVAC system, as leaks can significantly affect performance and efficiency.
Use a thermometer to measure the temperature of the air coming out of the unit to ensure it’s cooling effectively. If the unit is not achieving the desired temperature, you may need to adjust the settings or reposition it for better airflow.
Ensure all connections are tight and secure. Loose connections can lead to inefficiencies and potential safety hazards. If the unit has a filter, check that it is clean and properly installed, as a clogged filter can impair the unit’s functionality.
Regular maintenance is key to the long-term performance of your AC unit. Clean or replace the filter regularly, check for blockages, and ensure that the area around the unit remains clear of obstructions. These steps will help maintain optimal performance for your heating and cooling unit and prolong the lifespan of your unit.
By thoroughly testing and making necessary adjustments like professional AC installers, you can ensure your AC unit operates efficiently and provides a comfortable indoor environment.
Conclusion
By following the steps of professional AC installers that you have learned here today, you now have the knowledge to install your very own AC unit. However, if you feel unsure if you can complete the job sucessfully, we highly advise that you contact one of the professional AC installers in your area.
For more useful HVAC tips that could help save you money, be sure to read our following realted articles on AC installers and more!

