Outdoor Firepit Gasline Installation Guide To Not Blow Up

Introduction to Outdoor Firepit Gasline Installation
So, you’ve decided to elevate your backyard game with an outdoor firepit. Good choice! Who wouldn’t want to roast marshmallows and share ghost stories under the stars without having to endure actual camping? But before you channel your inner caveman and start striking rocks together, let’s talk gasline installation. Relax, this isn’t rocket science; it’s more like advanced adulting.
First off, forget those Hollywood explosions. We’re going for cozy ambiance, not action-movie pyrotechnics. You’ll need a little know-how and the right tools, but hey, if Bob from accounting can do it, so can you! The goal here is to install a gasline that won’t turn your backyard into a scene from a disaster flick.
You might be thinking, “Why can’t I just use a match and some lighter fluid?” Well, because we like our eyebrows and we assume you do too. A gasline means consistent, controlled flames, and fewer panic attacks every time a breeze picks up. Plus, it’s a fantastic conversation starter. Imagine casually dropping, “Yeah, I installed that gasline myself,” into your next BBQ chat. Instant hero status.
So, grab your safety goggles and prepare to impress your friends and family. With a pinch of patience, a splash of humor, and maybe a few curse words muttered under your breath, you’ll be well on your way to a picture-perfect backyard firepit setup. Get ready to transform your outdoor space into the ultimate hangout spot. Now, let’s dive into the nitty-gritty details, shall we?
Choosing the Right Location

Alright, let’s talk prime real estate for your outdoor firepit. We’re not talking beachfront property, but it’s close enough. Your firepit needs a spot that’s far enough from your house, trees, and anything else that’s likely to catch fire and ruin your day. Think of it as social distancing for flames. Check those local regulations—turns out city planners have opinions on backyard bonfires. Who knew?
Next, consider the wind direction. You don’t want to spend your evenings dodging smoke like it’s a game of backyard dodgeball. Trust me, your eyes will thank you. Also, think about seating arrangements. You want everyone to have a front-row seat to your backyard’s hottest show, literally. It’s like picking seats for a concert, but instead of loud music, you get the soothing crackle of fire.
And let’s not forget the ground. Flat and stable are the magic words here. Slopes are great for skiing, but not so much for outdoor firepits. You’re looking for a spot that won’t turn into a mud pit after the first rain. Consider putting down some gravel or pavers to create a stable, fire-friendly zone.
Finally, make sure there’s easy access to your gas source. Nothing kills the vibe faster than tripping over pipes while carrying a tray of s’mores supplies. Think of this as planning the perfect party—except instead of music and snacks, you’re setting the stage for epic fire-lit evenings.
Necessary Tools and Materials
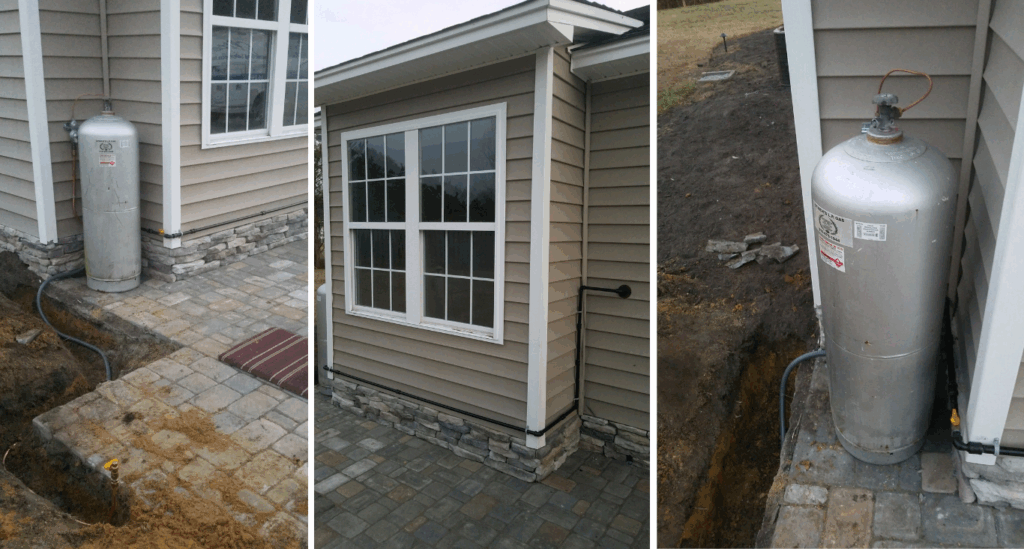
Before you channel your inner Bob the Builder, let’s make sure your toolbox is up to snuff. First off, grab a shovel. Yes, the same one you used to pretend you were digging to China as a kid. Next, you’ll need a pipe wrench—because nothing says “serious DIY” like a tool that could double as a weapon in a zombie apocalypse. Don’t forget a tape measure; eyeballing distances might work for hanging pictures, but it’s a no-go for gaslines unless you enjoy accidental fire shows.
Safety goggles are a must unless you’ve always wanted a reason to rock an eyepatch. Now, let’s talk materials. You’ll need gas piping—think of it as the veins of your firepit setup. Make sure you get connectors that fit; mismatched pieces are only cute in quilts, not gaslines. Sealant is your new best friend here. It’s the magical goo that keeps everything airtight and your eyebrows intact.
You might also want a bucket of sand or gravel handy. Not for building a mini beach in your yard, but to create a stable foundation for the piping. Plus, it’s way more useful than that sack of garden gnomes you thought would be a good idea last spring.
And there you have it: your ultimate shopping list for backyard glory. Assemble your tools and materials like a DIY superhero, and get ready to turn your outdoor space into the place where marshmallow dreams come true.
Step-by-Step Outdoor Firepit Installation Process
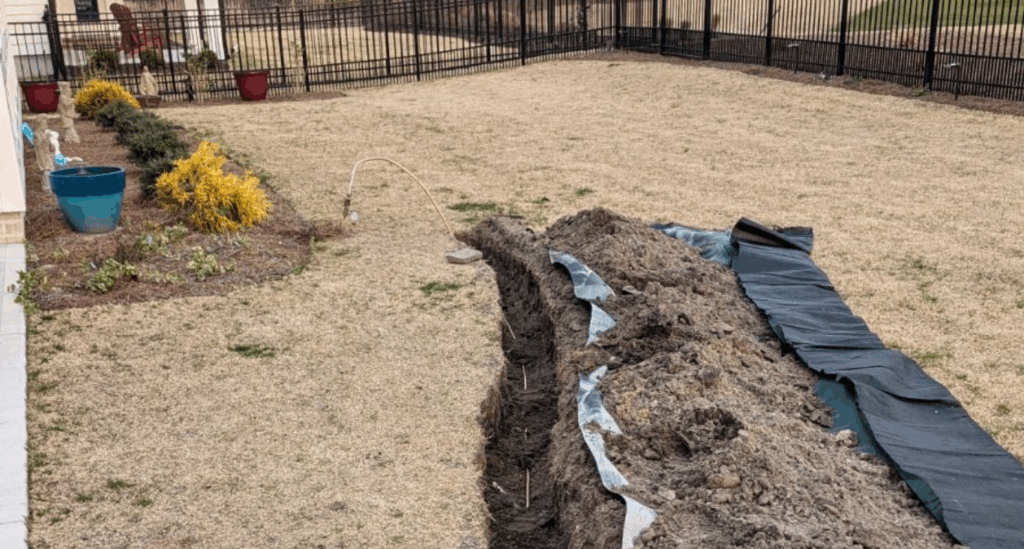
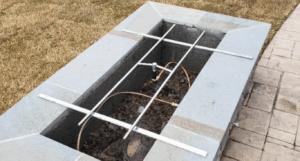
So, you’ve got your location and your tools, now let’s roll up those sleeves. Step one: dig a trench. Yes, it’s time to channel your inner archaeologist—minus the Indiana Jones hat, unless you really want to commit to the role. This trench is your pipeline’s new home, so make sure it’s deep and wide enough to keep everything snug and secure.
Next, lay down your gas pipe like you’re assembling the world’s dullest Lego set. But hey, it’s an important Lego set! Connect each section, making sure all pieces fit perfectly. Think of it like a puzzle, except if you mess up, it’s not just your pride on the line. Tighten each connection with your pipe wrench until you’re sure they’re solid.
Now, break out that sealant. This is the secret sauce that keeps your gasline airtight. Apply it generously at every joint and connection, but don’t go overboard—no one likes a gooey mess. Double-check your work because a tiny leak could lead to a massive headache, or worse, an unplanned backyard water fountain.
With everything connected and sealed, cover your trench back up. It’s like tucking your pipeline in for a long, cozy nap. Make sure the ground is level again; you’re not aiming for a bumpy backyard here.
Alright, almost done! Hook up your gasline to the outdoor firepit itself. Make sure all connections are tight and secure. Now for the moment of truth: it’s time to turn on the gas. Do it slowly, like you’re trying to avoid waking a sleeping baby. Listen carefully and check for any hissing sounds—that’s a sign something’s not right.
Safety Checks and Testing
Alright, Sherlock, it’s time to put your detective hat on—minus the deerstalker, unless you really want to go all out. First things first, grab some soapy water and a brush. No, this isn’t a spa day for your gasline; it’s a classic leak detector trick. Brush the soapy water over the joints and connections. If you see bubbles, congratulations, you’ve found a leak! Now, don’t panic. Just tighten up that connection and add a bit more sealant. You’re basically a pipe-whisperer at this point.
Next up, the sniff test. Sounds weird, but your nose is a valuable tool here. Slowly turn on the gas—emphasis on slowly, like you’re handling your grandma’s antique teacups. Take a careful sniff around the connections. If you smell gas, well, that’s your cue to recheck everything. Think of it as playing a high-stakes version of “I Spy.”
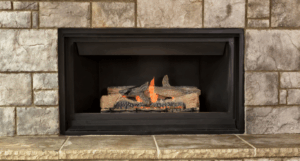
Once you’re confident there are no leaks, it’s time for the grand finale: the flame test. Light your firepit and observe. You want a steady, blue flame, not some flickering orange disaster. If the flame looks like it’s auditioning for a Halloween horror flick, you’ve got some adjustments to make. Check the air-to-gas ratio and make sure everything’s connected properly.
And there you have it—your outdoor firepit is ready to go. You’ve avoided turning your yard into an unintended fireworks display and can now sit back and enjoy those perfectly controlled flames. Well done, you gasline guru!
Maintenance and Troubleshooting

You’ve become the outdoor firepit guru of your block, so let’s keep that title polished. First up, regular maintenance check-ups. Think of your gasline like a pet—feed it some attention and it won’t bite. Give those connections a look every few months. If you spot anything wobbly or leaky, tighten it up or add more sealant. Your aim is to avoid any unscheduled backyard pyrotechnics.
Clearing debris around your firepit isn’t just for aesthetics; it’s fire safety 101. Leaves, sticks, and rogue marshmallows can turn your firepit area into a potential bonfire. Plus, nothing ruins the ambiance faster than a smoky flare-up caused by a hidden twig.
Speaking of smoke, if your outdoor firepit starts acting like a dragon with a head cold, it might be a clogged burner. A simple cleaning can work wonders. Turn off the gas, remove the burner, and give it a good scrub. A wire brush and some elbow grease should do the trick.
For those times when your firepit refuses to cooperate, channel your inner detective. If the flames are being more diva than drama-free, it’s probably an air-to-gas ratio issue. Adjust the air shutter until you get that perfect blue flame. It’s like tuning a guitar but hotter and more satisfying.
And let’s be real, even the best DIYer hits a wall. If you’re stumped, consult YouTube or, heaven forbid, call a gas line installation professional. It’s better than turning your yard into a scene from an action movie.
With these tips, your firepit will be the toast of the neighborhood, and you’ll bask in the glow of a job well done—literally. So keep those flames flickering beautifully, and enjoy the fruits of your labor, firepit maestro!
Conclusion
By following the steps you have learned here today, you should be okay installating your very own outdoor firepit and gas line. However, if you do not feel comfortable tackling the task yourself, we suggest here at Elite Contracting Solutions to contact a local gas line installation company near you.
For more tips on gas heating, residential and commercial HVAC repair, installation, and heating and cooling maintenance. Be sure to read our following related articles.

