HVAC Return Supply Box: Step By Step Building Instructions
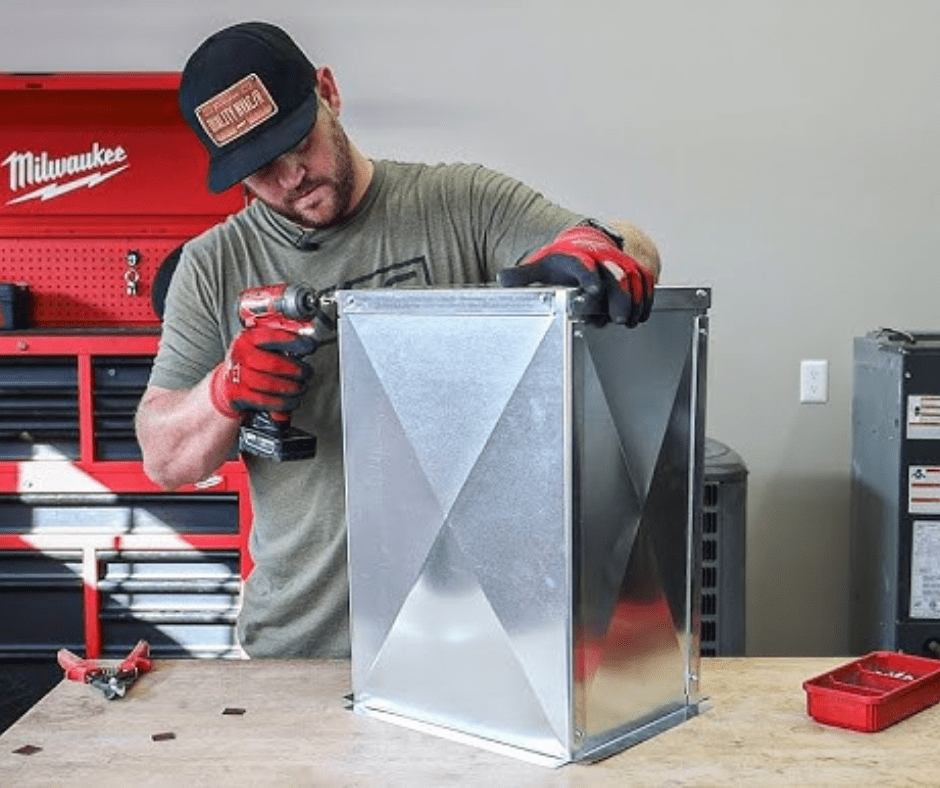
Building your own HVAC return supply box might seem like a daunting task, but with a little guidance, it can be a manageable and rewarding project. Whether you’re looking to improve the efficiency of your current HVAC system or embarking on a new installation, creating a custom return supply box can make a significant difference in air quality and energy efficiency.
This step-by-step guide will walk you through the process, breaking down each task into simple, understandable parts. Let’s dive in and get started!
Understanding the Purpose of an HVAC Return Supply Box
An HVAC return supply box plays a pivotal role in your heating, ventilation, and air conditioning system by facilitating the efficient circulation of air throughout your home. This component allows air to flow back into the HVAC unit after it has been circulated through your living spaces.
By doing so, it helps to balance air pressure, which is crucial for the system’s overall performance. The return supply box also aids in filtering the air, and capturing dust and debris before the air re-enters the HVAC unit. This not only helps maintain indoor air quality but also protects the HVAC system from potential damage.
By ensuring a steady and clean return of air, your HVAC system can function more efficiently, leading to more consistent temperatures and potentially lowering energy bills.
Gathering the Necessary Tools and Materials
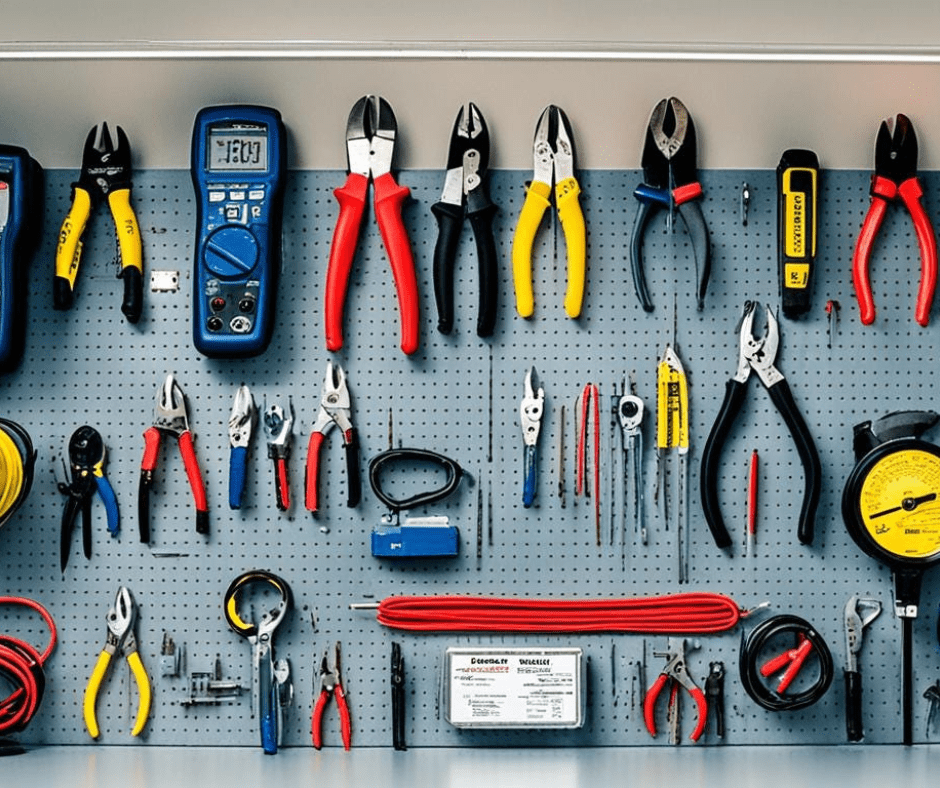
Before you dive into building your HVAC return supply box, make sure you have all the tools and materials ready. This will streamline the process and help you avoid unnecessary interruptions. Here’s a list of what you’ll need:
– Sheet metal or wood panels (choose based on your preference and budget)
– Metal cutting tools or a saw (depending on the material)
– Measuring tape
– Drill and screws
– Duct tape or metal foil tape
– Insulation material (foam board or fiberglass)
– Return air grille
– Air filter slot or bracket
– Safety goggles and gloves
Having these items at hand ensures you can work efficiently and safely. Each tool and material plays a crucial role in building a durable and effective HVAC return supply box, so double-check your list before starting. Safety gear like goggles and gloves are essential for protecting yourself during the cutting and assembly phases.
Measuring and Cutting the Materials
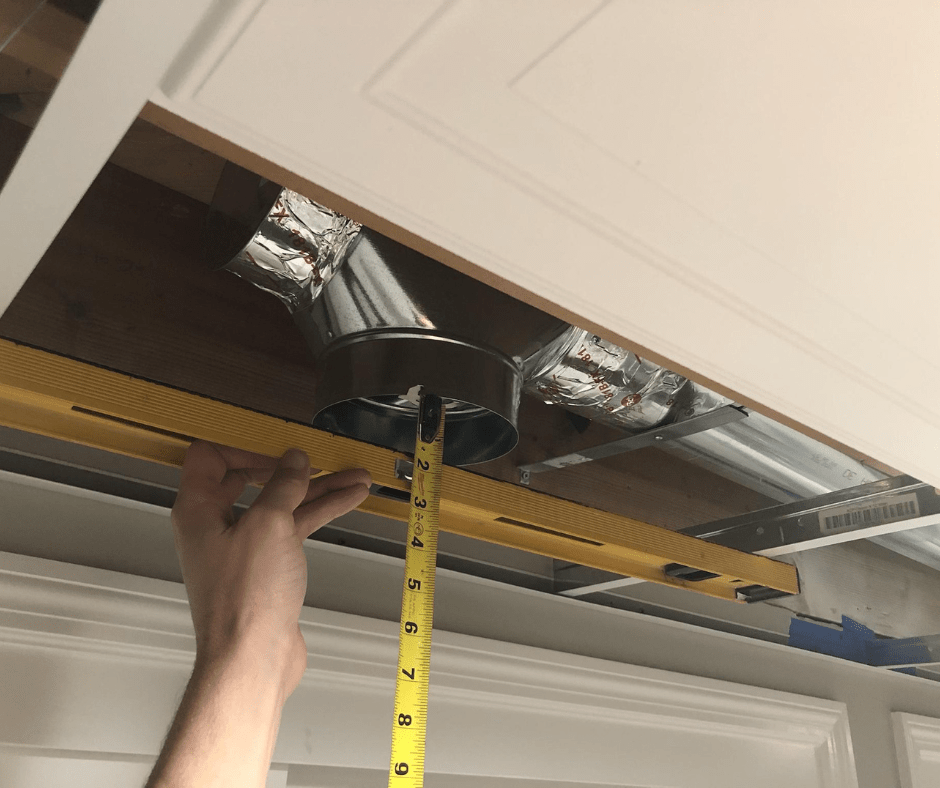
Accurate measurements are crucial for a successful build. Start by measuring the space where the HVAC return supply box will be installed. Use a measuring tape to get the height, width, and depth of the area. Transfer these measurements to your sheet metal or wood panels, marking each dimension carefully. Remember to include any additional space needed for insulation. Precision here will make the later assembly steps much smoother.
Once your measurements are marked, it’s time to cut the panels to size. Use metal cutting tools if you’re working with sheet metal, or a saw for wood panels. Wear your safety goggles and gloves to protect yourself from sharp edges and debris. Make sure each cut is clean and straight to ensure a proper fit. Take your time and double-check your measurements before cutting, as mistakes can be costly in terms of both materials and time.
Assembling the Box Frame
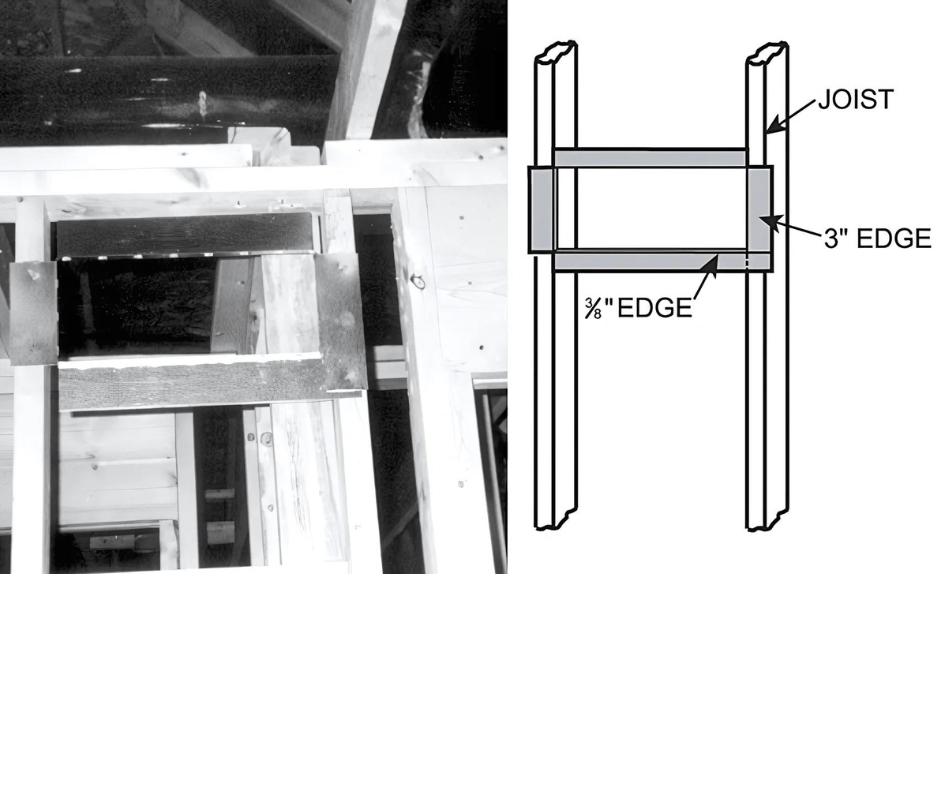
With your panels cut to size, it’s time to bring them together to form the box frame. Lay out your cut panels on a flat surface, arranging them into the shape of the box. Begin by attaching the bottom panel to the side panels. Use your drill and screws to fasten the edges securely, making sure each corner forms a perfect right angle. This ensures the structural integrity of the box and a better fit during installation.
As you assemble the frame, periodically check that all corners are square using a carpenter’s square or measuring tape. This will help in avoiding any misalignments that could affect the efficiency and fit of your HVAC return supply box. For added stability, you can pre-drill holes at the points where the panels meet. This will make it easier to drive in the screws and reduce the risk of splitting the material.
Once the bottom and side panels are securely attached, add the top panel, fastening it in the same manner. Double-check that all edges are aligned and that the frame feels solid. If you notice any sharp edges or protruding screws, use a metal file or sandpaper to smooth them out. This step is essential for ensuring safety and ease of handling during the rest of the build.
Installing Insulation for Efficiency
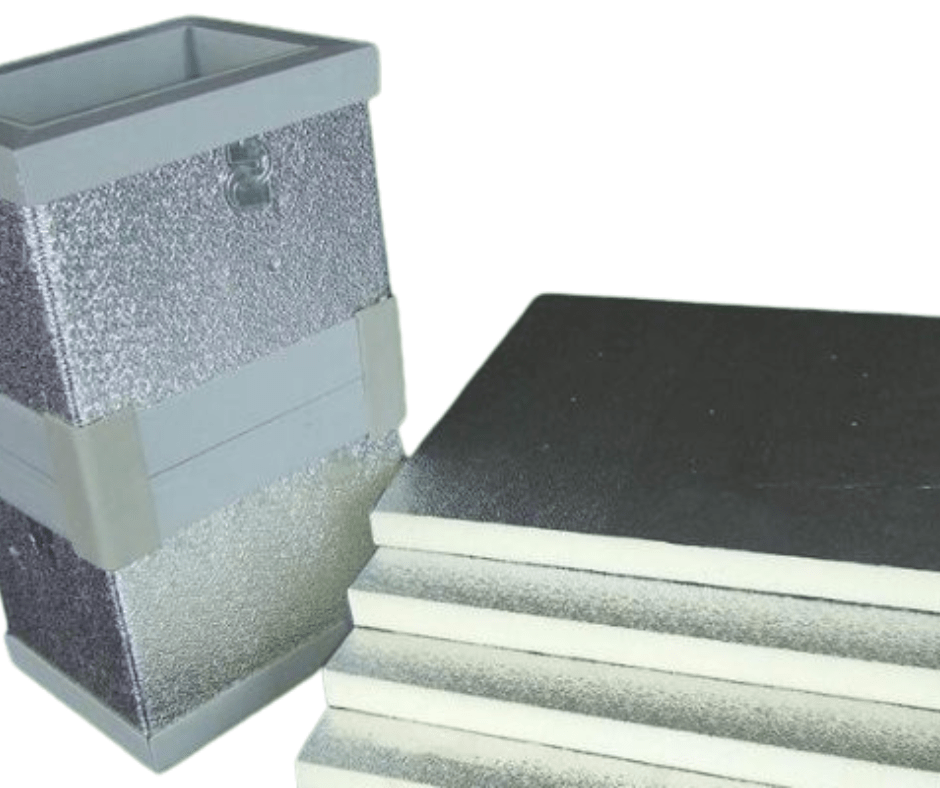
To maximize the efficiency of your HVAC system, installing insulation inside the return supply box is a key step. Start by selecting your insulation material—foam board or fiberglass insulation are both effective options. Carefully measure the interior dimensions of your box to cut the insulation to the right size. Ensure that the insulation fits snugly against the interior walls without obstructing airflow.
If you’re using foam board, you can secure it with a bit of duct tape or adhesive spray to keep it in place. For fiberglass insulation, make sure it’s layered evenly and pressed firmly against the sides to prevent any gaps. The insulation will help in maintaining the air temperature as it returns to your HVAC unit, thereby enhancing the overall heating and air system performance. Additionally, it acts as a sound barrier, reducing the noise generated by the airflow.
Remember to wear gloves and a mask when handling insulation materials to protect yourself from irritation. Proper insulation not only boosts efficiency but also contributes to quieter and more comfortable indoor environments.
Adding the Return Grille and Filter Slot
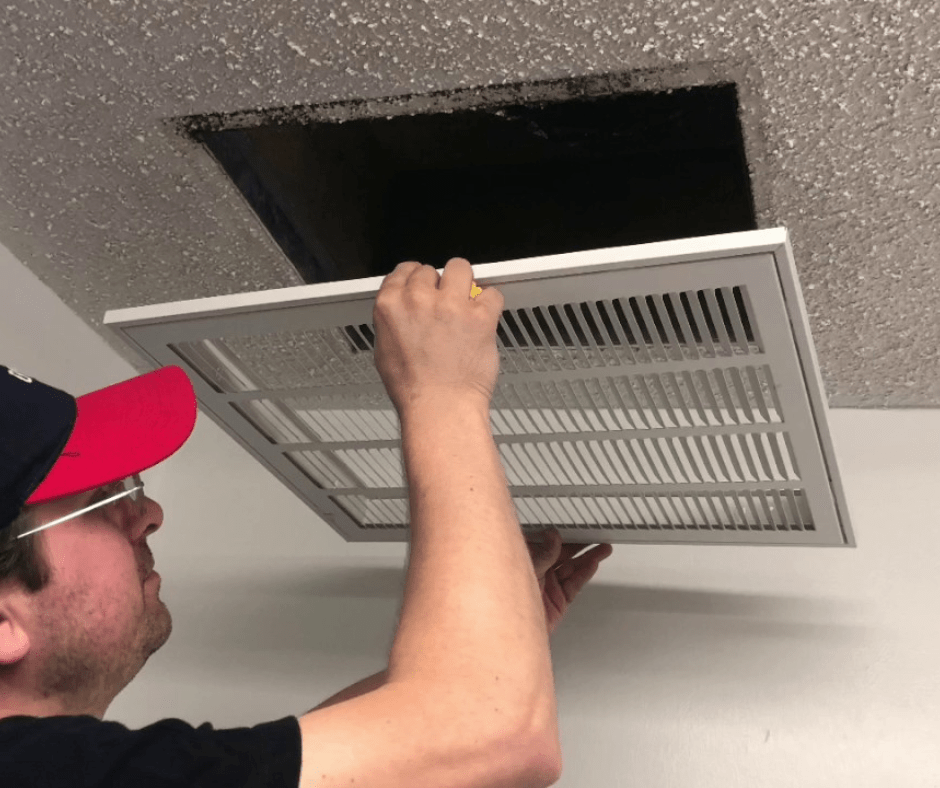
Now it’s time to add the essential components that will help your HVAC return supply box function efficiently: the return air grille and the filter slot. Start by determining the ideal spot on the front panel of your box where the return grille will be placed. Use a marker to outline the grille’s dimensions on the panel. Carefully cut out this section, ensuring the opening is clean and precise.
Once the opening is ready, position the return grille over the cut-out area. Secure it in place with screws, making sure it is firmly attached and aligned correctly. The grille will allow air to enter the return supply box while keeping out larger debris, ensuring a smooth airflow.
Next, focus on installing the HVAC filter slot or bracket. This is crucial for maintaining good air quality in your home or business, as the filter will trap dust and allergens. Measure the appropriate space for the filter slot, ensuring it can easily accommodate the filter you’ve chosen. Attach the slot or bracket securely to the inside of the box, ensuring it is positioned to allow easy removal and replacement of the filter.
By carefully installing the return grille and filter slot, you ensure that your HVAC return supply box operates effectively, contributing to a cleaner and more efficient HVAC system.
Securing and Testing the HVAC Return Supply Box
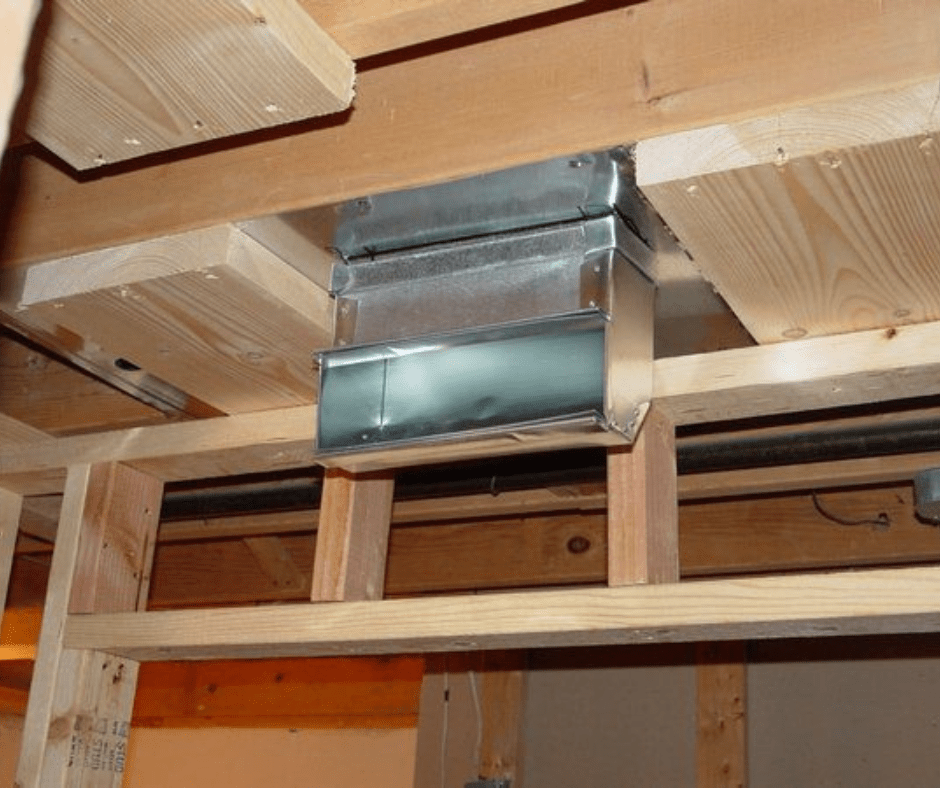
With your HVAC return supply box fully assembled and the components installed, the next step is to secure it in place. Using screws and brackets, attach the box firmly to your wall or HVAC unit, ensuring it is stable and well-aligned. It’s important to make sure the box is level to avoid any airflow disruptions.
Once secured, the testing phase begins. Power on your HVAC system and feel around the seams and joints for any air leaks. If you detect any, use duct tape or metal foil tape to seal them. This step is crucial for maintaining efficient airflow and preventing energy loss. Additionally, check the return grille and filter slot to ensure they are properly installed and functioning as intended.
By carefully securing and testing your HVAC return supply box, you ensure it will perform optimally, contributing to a more efficient and effective HVAC system. Remember, a well-installed box not only improves air quality but also enhances the overall performance of your HVAC system. Enjoy the benefits of a job well done!
Maintenance Tips and Troubleshooting
Regular heating and cooling maintenance is key to ensuring the longevity and efficiency of your HVAC return supply box. Start by routinely checking and replacing the air filter, which is crucial for maintaining optimal air quality and system performance. A clogged filter can restrict airflow and cause your HVAC system to work harder, increasing energy consumption.
Additionally, inspect the return supply box periodically for any signs of wear and tear. Look for cracks or gaps in the insulation, as these can affect the efficiency of your system. Make sure all connections and seals remain tight and secure to prevent air leaks. If you notice any looseness, use duct tape or metal foil tape to reinforce the seals.
Keep an ear out for unusual noises that might indicate airflow issues or loose components within the box. If you detect any issues, double-check that the box is still securely fastened and that there are no obstructions in the airflow path.
Should you encounter persistent problems, consider consulting a professional HVAC technician for a thorough inspection and advice. Regular upkeep not only keeps your HVAC system running smoothly but also extends the lifespan of your return supply box, ensuring a comfortable and efficient home environment. Stay proactive with maintenance, and your efforts will pay off in better performance and energy savings.
Conclusion
You now know the exact steps to take to build your HVAC return supply box. If you do not feel comfortable or confident in taking on this task, we highly advise you to contact an HVAC repair and service in your area. For more useful heating and cooling tips, be sure to read our following related articles.


