Portable Air Conditioner Installation: Step-by-Step Guide
Choosing the Right Location
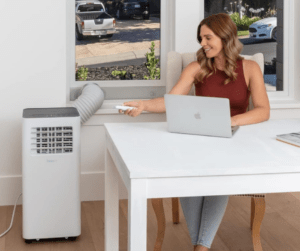
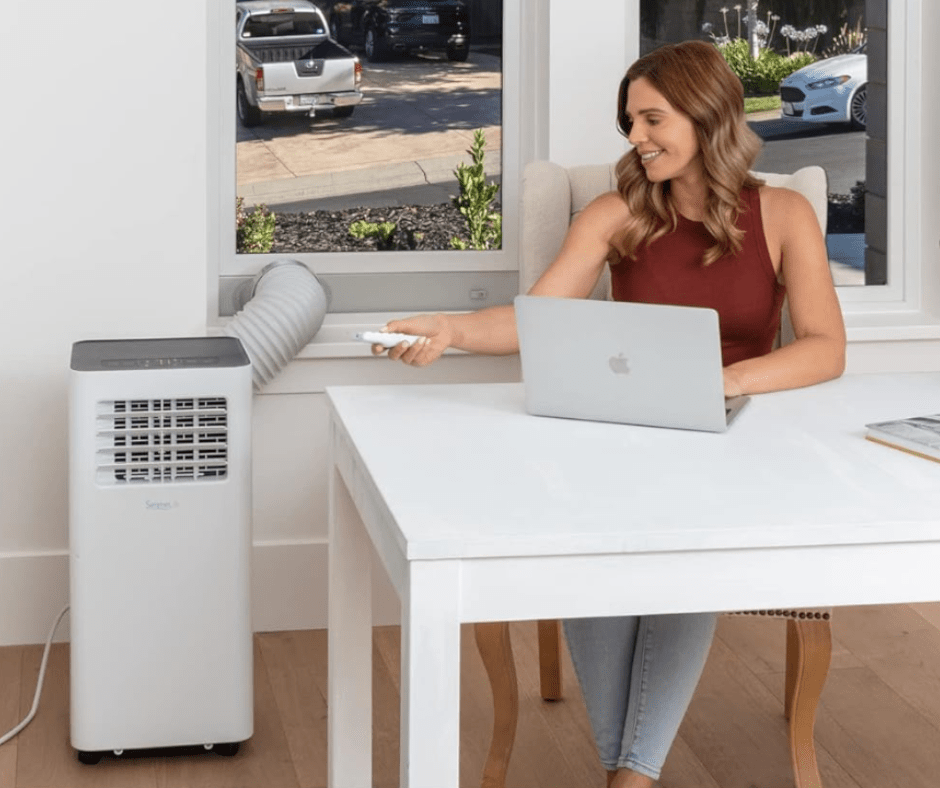
Choosing the right location for your portable air conditioner installation is essential for optimal performance. Begin by scouting for a spot near a window, as the exhaust hose will need to be vented outside. Ensure that the area is flat and close to a power outlet for easy setup. It’s crucial to maintain adequate space around the unit to facilitate proper airflow, which helps the air conditioner function efficiently.
Be mindful of any objects that could block the air intake or output, such as furniture, curtains, or other household items. These can obstruct the air conditioning unit’s airflow and compromise its cooling capabilities. Additionally, try to place the air conditioner in a central location within the room you wish to cool. This positioning allows the unit to distribute cool air more evenly throughout the space.
Consider the room’s layout and the location of doors and windows. If possible, choose a location where the air conditioner will not blow directly onto a seating area or workspace, which can sometimes be uncomfortable. Instead, aim for a spot where the cool air can circulate freely without causing drafts.
If the room has multiple windows, select the one that provides the easiest access and the least amount of direct sunlight. Direct sunlight can increase the room’s temperature and make the air conditioner work harder. However, if the only available window is in a sunlit area, consider using curtains or blinds to reduce heat gain.
By carefully selecting the right location, you’ll set the stage for a successful and efficient portable air conditioner installation.
Unboxing and Preparing the Unit
Once you’ve selected the perfect spot for your portable air conditioner, it’s time to get it ready for installation. Start by carefully opening the box and taking out the main unit and all included components. Typically, you’ll find an exhaust hose, window kit parts, and a remote control. Make sure to locate and read the manufacturer’s instructions thoroughly. These guidelines are crucial for understanding how to set up your specific air conditioning model correctly and safely.
Lay out all the components on a flat surface to ensure you have everything you need. This step will help you identify any missing parts before you start the HVAC installation process. Check for any protective packaging or tape on the unit and remove them. These materials are used to keep the unit safe during shipping and need to be discarded before you can use the air conditioner.
Next, familiarize yourself with the various parts. Understand how the exhaust hose connects to both the air conditioner and the window kit. Knowing this will make the actual assembly smoother and quicker. Look at the control panel and remote to get a feel for the buttons and settings. This way, you’ll be comfortable operating the unit once it’s installed.
If your model includes any additional accessories like drainage tubes or water containers, make sure you know how and when to use them. These can be essential for maintaining the air conditioning unit’s efficiency and longevity. Being well-prepared will save you time and ensure a hassle-free setup.
Lastly, take a moment to consider where you’ll be placing the unit in relation to the power outlet and window. Ensuring everything is within easy reach will make the air conditioner installation process go more smoothly. With everything prepped, you’re now ready to move on to the next steps of your air conditioner installation job.
Setting Up the Window Kit
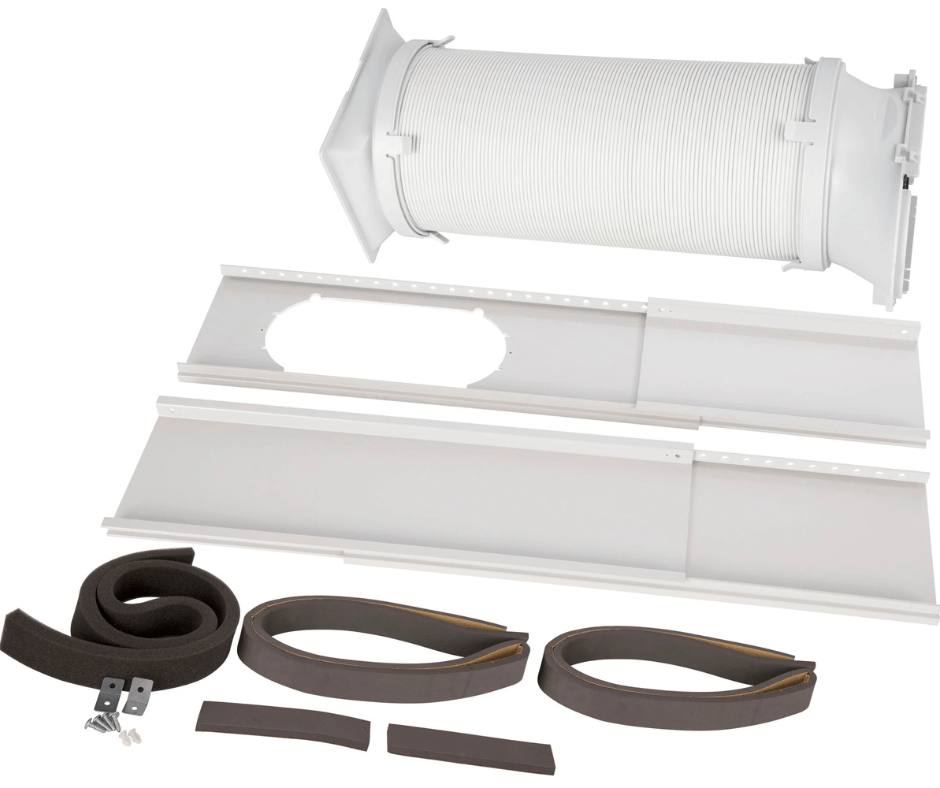
To set up the window kit during the air conditioner installation process, begin by measuring the window opening to make sure the kit will fit properly. The window kit generally comes with adjustable panels that can be expanded or contracted to match your window size. Follow the manufacturer’s instructions to assemble these panels. Once assembled, position the panels securely within the window frame.
After placing the panels, close the window tightly against them. This helps to hold the panels in place and creates a seal that prevents warm air from sneaking in and cool air from escaping. Make sure the panels fit snugly; any gaps could reduce the efficiency of your air conditioner.
For windows with screens, it might be necessary to remove the screen temporarily to get a better seal. You can reinstall the screen once the window kit is securely in place. Some window kits come with weather stripping or foam padding to ensure a tighter seal, so use these materials if provided.
If your window kit includes a bracket or clamp for extra stability, install it according to the instructions. This added security can be especially useful in areas prone to high winds or where the window might be frequently opened and closed.
Lastly, double-check that the window panels are locked in place and the window is closed securely. This step of the air conditioner installation process ensures that the setup is stable and airtight, which is crucial for your air conditioner to function at its best. By carefully setting up the window kit, you’ll create the optimal environment for your portable air conditioner to keep your room cool and comfortable.
Securing the Exhaust Hose
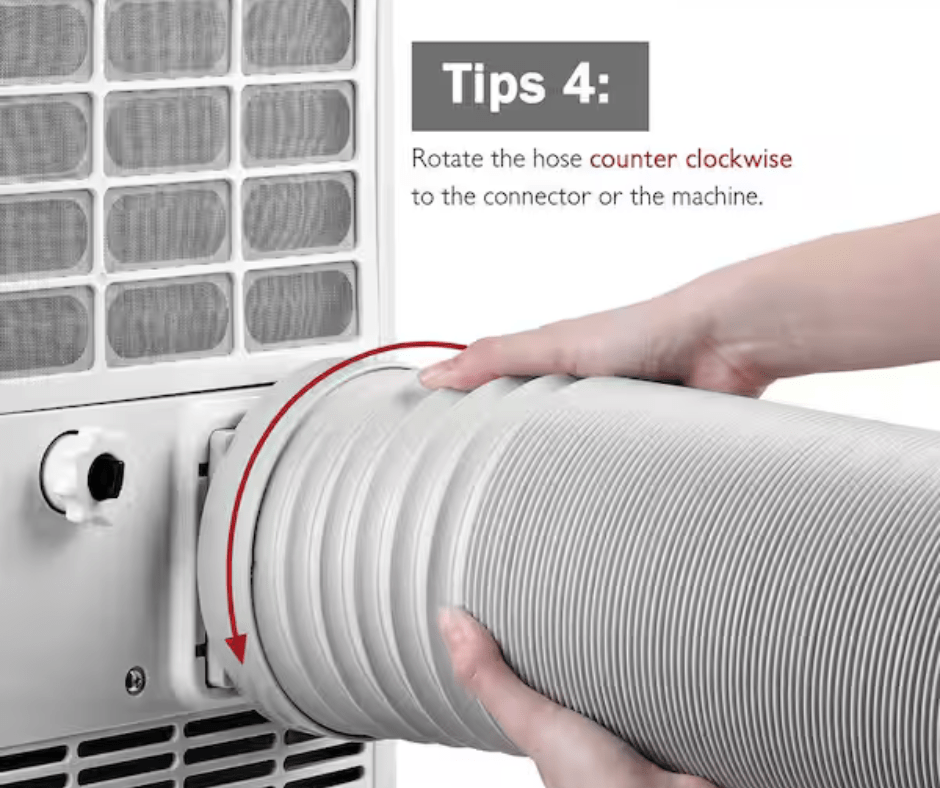
With the window kit securely in place, it’s time to attach the exhaust hose to your portable air conditioner. Start by connecting one end of the hose to the designated vent on the air conditioner. Ensure it’s firmly attached to prevent any air leaks. Most portable air conditioning units have a simple twist-and-lock mechanism or a clamp that makes this step straightforward.
Next, connect the other end of the hose to the window kit. This part is crucial because it allows hot air to be expelled outside, ensuring your room stays cool. Make sure the hose fits tightly into the window kit opening. Some kits come with additional fasteners or seals; if yours does, use them to create a more secure connection.
As you position the hose, ensure it runs smoothly without any sharp bends or kinks. A smooth path is vital for maintaining good airflow in your home or office. Kinks or bends can obstruct the airflow, reducing the efficiency of your air conditioner and potentially causing the unit to overheat.
If your model includes an extension for the exhaust hose, make sure it’s properly connected and secured. However, try to keep the hose as short as possible. Longer hoses can reduce efficiency and make the HVAC unit work harder.
Double-check all connections to confirm they are secure and airtight. You may also want to inspect the hose periodically for any wear or damage, as this can affect performance.
By ensuring pra oper connection of the exhaust hose during the air conditioner installation process, you’re setting up your portable air conditioner for optimal performance, helping it to cool your room effectively and efficiently.
Plugging In and Testing
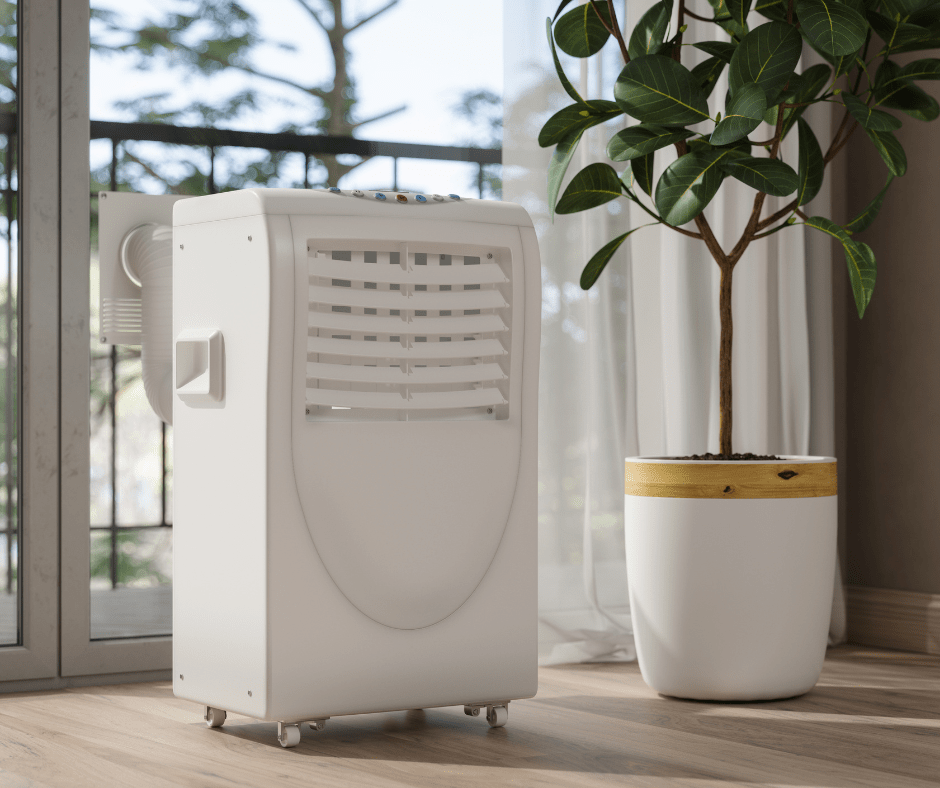
Once your exhaust hose is securely attached and your window kit is in place, it’s time to power up your portable air conditioner. Find a nearby power outlet and plug in the unit, making sure the cord is not stretched or under any strain. Switch the unit on using the control panel or the remote control provided.
Set the temperature to your preferred level and choose the cooling mode. Give the air conditioner a few minutes to start working. Listen for any unusual sounds and check for steady airflow from the unit. The air should gradually feel cooler as the unit operates.
While the air conditioner is running, observe the exhaust hose to ensure it remains firmly connected and free from any kinks or bends that could restrict airflow. If everything seems to be functioning correctly, you can also use the remote control to test other features, such as fan speed, timer settings, or oscillation if your model includes these options.
Additionally, keep an eye on the display panel for any cooling error messages or indicators that might suggest an issue with the setup. Address any alerts as per the manufacturer’s instructions to ensure your HVAC unit continues to work efficiently.
By following these steps, you’ll verify that your portable air conditioner installation job is properly completed and ready to keep your space cool and comfortable.
Maintenance Tips
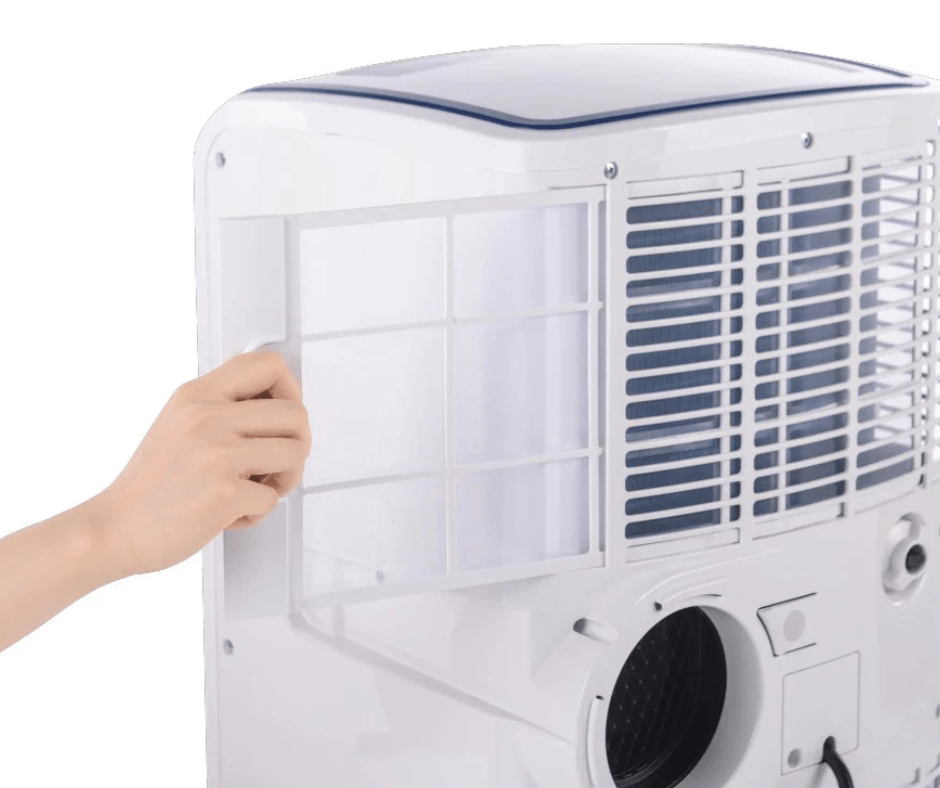
Regular maintenance of your portable air conditioner ensures it runs efficiently and has a long lifespan. Start by cleaning or replacing the air conditioner filters as needed. Dirty filters can reduce airflow and force the AC unit to work harder, so make it a habit to check them every couple of weeks, especially during peak usage times.
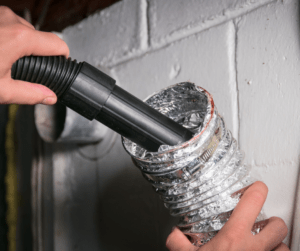
It’s also essential to inspect the exhaust hose regularly. Look for any blockages, debris, or damage to the air conditioner that might hinder airflow. Clear any obstructions you find to keep the air conditioner operating smoothly.
Additionally, wipe down the exterior of the unit with a damp cloth to remove dust and grime. Keeping the surface clean helps maintain the air conditioning unit’s appearance and prevents dust from getting into the air intake.
If your model includes a drainage tube or water container, be sure to empty and clean it as recommended by the manufacturer. Standing water can lead to mold or mildew, which can affect air quality and the unit’s performance.
Lastly, consider storing the portable air conditioner properly during off-seasons. Clean the unit thoroughly, remove the exhaust hose, and store it in a cool, dry place. Covering the unit can protect it from dust and damage, making it ready for use when you need it again.
By following these simple maintenance tips, you’ll ensure your portable air conditioner stays in top shape, providing you with a cool and comfortable environment whenever you need it.
Conclusion
By following the steps that you have learned here today, the portable air conditioner installation process should not be too difficult. If you feel as if these steps are still too hard to perform, we highly recommend contacting a residential and commercial AC repair and portable air conditioner installation company in your area. For HVAC tips, be sure to read our following related articles.

