Troubleshooting Your Thermostat Made Simple

Introduction to Solving Thermostat Problems
Thermostats are essential for keeping our homes comfortable, but they can sometimes present challenges that leave us scratching our heads. The good news is that troubleshooting your thermostat doesn’t have to be complicated. By following a series of simple, clear steps, you can get your thermostat back in working order without feeling overwhelmed.
This guide is here to make the process as smooth as possible, breaking down each step so you can tackle issues confidently. Whether you’re new to home HVAC maintenance or just need a quick refresher, these tips are designed to be user-friendly and straightforward.
You’ll learn how to ensure your thermostat has power, check configurations, inspect wiring, adjust calibration, and replace batteries—all with the goal of helping you feel empowered and capable. Remember, it’s okay to take things one step at a time. Even small adjustments can make a big difference in restoring comfort to your home. If you ever find yourself stuck, don’t hesitate to seek help from a professional heating and cooling company to ensure everything is running smoothly.
Verifying the Power Supply
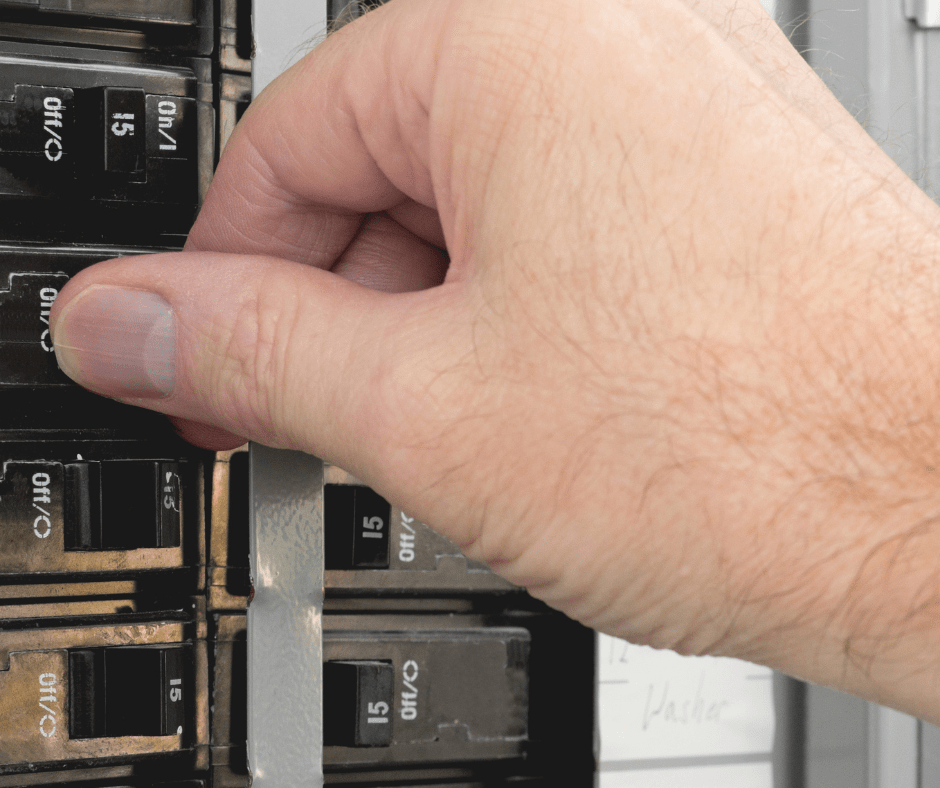
Ensuring your thermostat has power is crucial for it to function correctly. If your thermostat seems unresponsive or the display is blank, it could be due to a power issue. Begin by checking your home’s electrical panel for any tripped circuit breakers. If you find one, reset it and see if that restores power to your thermostat.
Next, check for any power switches near your heating or air conditioning system. These switches can sometimes be turned off by accident, especially during routine maintenance or cleaning. Simply flipping the switch back on might resolve the problem.
If your thermostat is battery-operated, low or dead batteries could also be the culprit. If you haven’t changed the batteries in a while, now might be a good time to replace them. This is a quick and easy fix that could get your thermostat working again.
Additionally, some thermostats are connected to a dedicated power source. Ensure that any wall plugs or adapters are securely connected and functioning. If you’re unsure, testing the plug with another device can confirm if the outlet is working properly.
Lastly, if you have a smart thermostat, ensure it’s connected to your home’s Wi-Fi network. Sometimes, a loss of Wi-Fi connectivity can cause the thermostat to become unresponsive. Checking the network settings can help determine if this is the issue.
By systematically going through these checks, you can identify and fix any power supply issues, ensuring your thermostat is ready to keep your home comfortable.
Reviewing the Thermostat Configurations
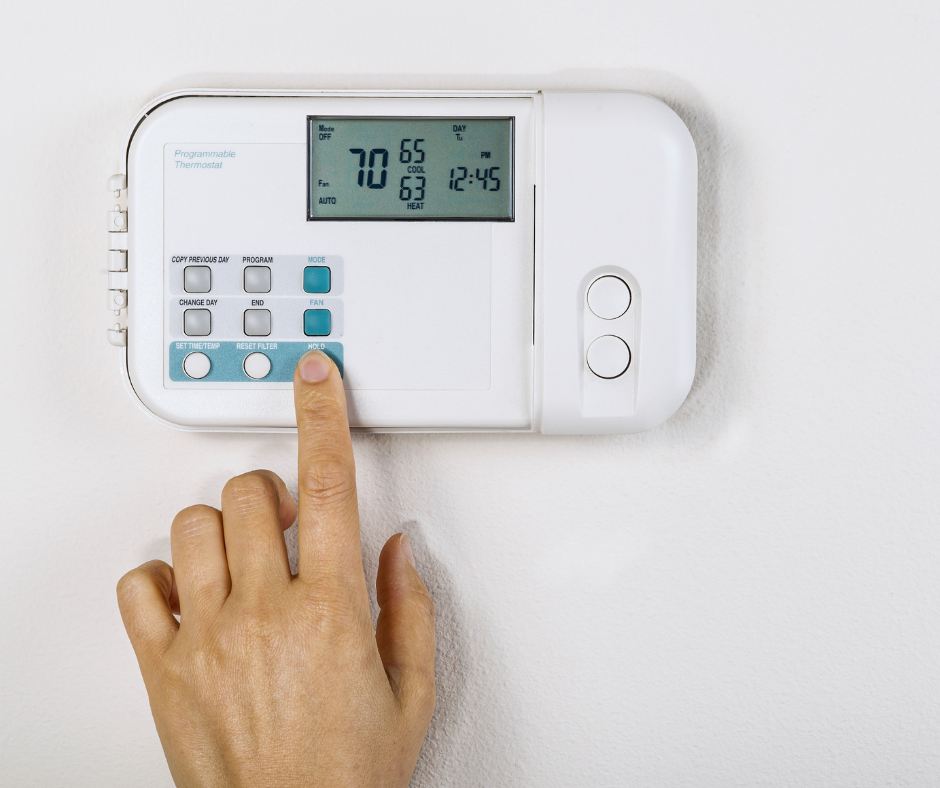
After ensuring the power supply is intact, let’s move on to checking the thermostat configurations. First, confirm that your thermostat is set to the appropriate mode—heating for winter and cooling for summer. This might sound basic, but it’s a common oversight, especially during season changes.
Next, look at the set temperature. Make sure it’s at a level that will trigger your system to turn on. For instance, if you want to warm up your home, set the temperature higher than the current room temperature. For cooling, set it lower. Even a small difference can affect whether your system kicks in or not.
Additionally, review any programmed schedules. Some thermostats allow you to set different temperatures for different times of the day. Ensure these schedules align with your current needs. If you’re working from home now but previously set the thermostat to lower temperatures during the day, updating this can make a big difference.
If you have a smart thermostat, check the app settings. Sometimes, settings in the app can override manual settings on the thermostat itself. Ensure the app is configured correctly and that any remote schedules or temperature adjustments make sense for your daily routine.
Lastly, if your thermostat has an “auto” mode, it might switch between heating and cooling automatically based on the room temperature. While convenient, this feature can sometimes cause confusion if it’s not set up correctly. Double-check these settings to make sure they match your preferences.
By carefully reviewing and adjusting these configurations, you can optimize your thermostat for better performance and comfort.
Checking the Wiring Connections
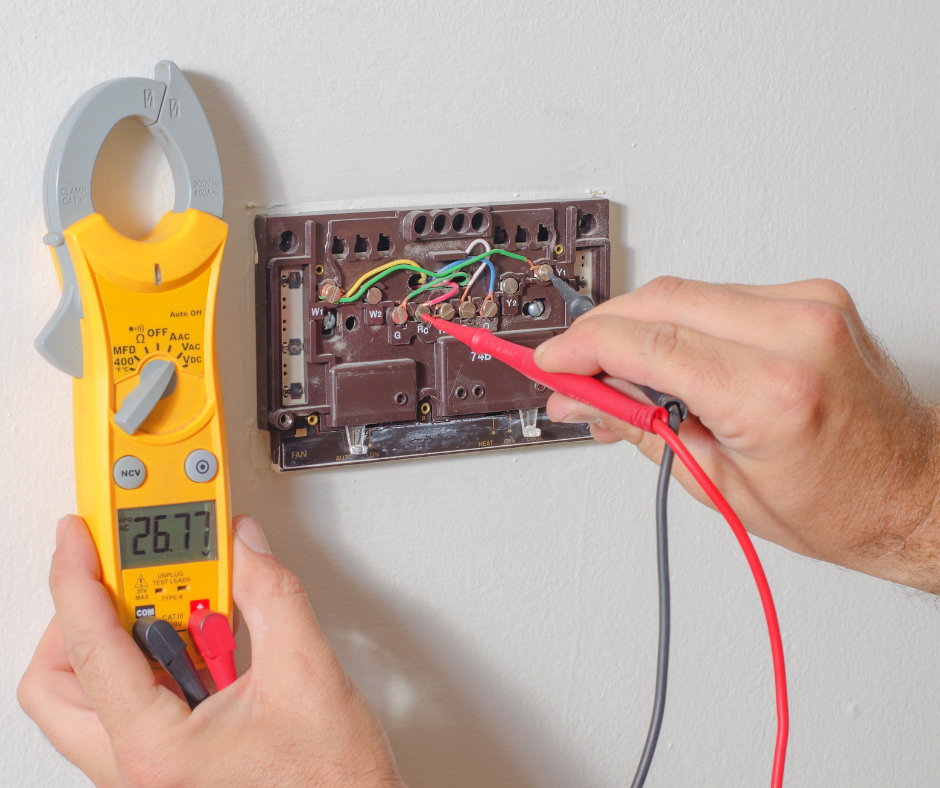
Loose or damaged wires can disrupt the connection between your thermostat and your heating or cooling system. To inspect the wiring connections, start by carefully removing the thermostat cover. Use a screwdriver if needed, and be gentle to avoid damaging the unit. Once the cover is off, you’ll see several wires connected to different terminals.
Look for any wires that seem loose, disconnected, or frayed. A loose wire can often be fixed by simply tightening the screw that holds it in place. If a wire appears damaged, it may need to be replaced. When dealing with wires, it’s important to turn off the power to your heating and cooling system to avoid any risk of electric shock.
Each wire should be securely attached to the correct terminal. Most thermostats have a wiring diagram either on the inside of the cover or in the manual. Refer to this diagram to ensure that each wire is connected to the appropriate terminal. If you’re unsure which wire goes where, it’s always a good idea to take a photo before making any changes. This will serve as a helpful reference.
If you encounter any wires that are hard to identify or connect, consider labeling them with small pieces of tape for easier reference in the future. Properly connected and intact wires are essential for your thermostat to communicate effectively with your heating and cooling system.
Adjusting the Thermostat Calibration
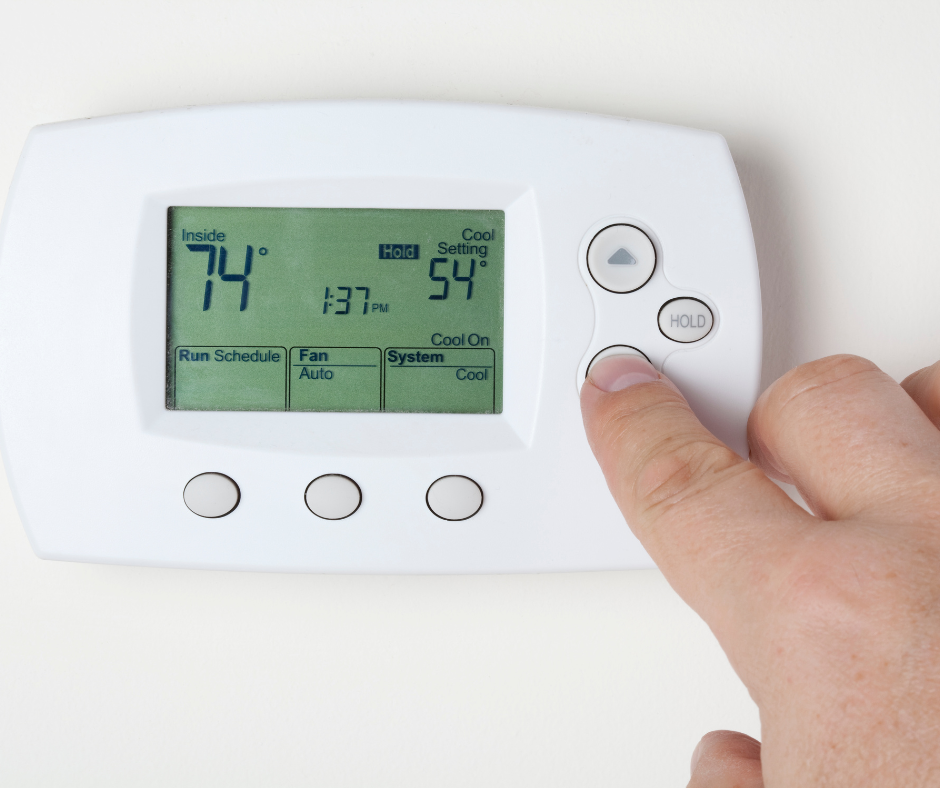
A thermostat that isn’t accurately calibrated can lead to inconsistent temperatures and inefficient energy use. To ensure your thermostat reads the temperature correctly, start by placing a reliable thermometer close to it. Allow the thermometer to sit for a few minutes to get an accurate reading. Compare this reading with the temperature displayed on your thermostat.
If you notice a difference, your thermostat may need adjustment. Begin by consulting your thermostat’s manual for specific calibration instructions. Each model has its own method for fine-tuning the temperature settings, so following the manufacturer’s guidelines is essential.
Some thermostats have a built-in calibration feature accessible through the settings menu. If yours does, navigate to this option and make the necessary adjustments to align the thermostat’s reading with your thermometer.
In cases where the thermostat doesn’t have a built-in calibration feature, a small screw or dial inside the unit might allow you to adjust the temperature setting. Gently turn this screw or dial until the thermostat’s display matches the thermometer’s reading.
Ensuring accurate calibration can improve your home’s comfort and enhance the efficiency of your heating and cooling systems. Taking a few moments to check and adjust your thermostat can lead to significant benefits in maintaining a comfortable living environment.
Changing the Thermostat Batteries
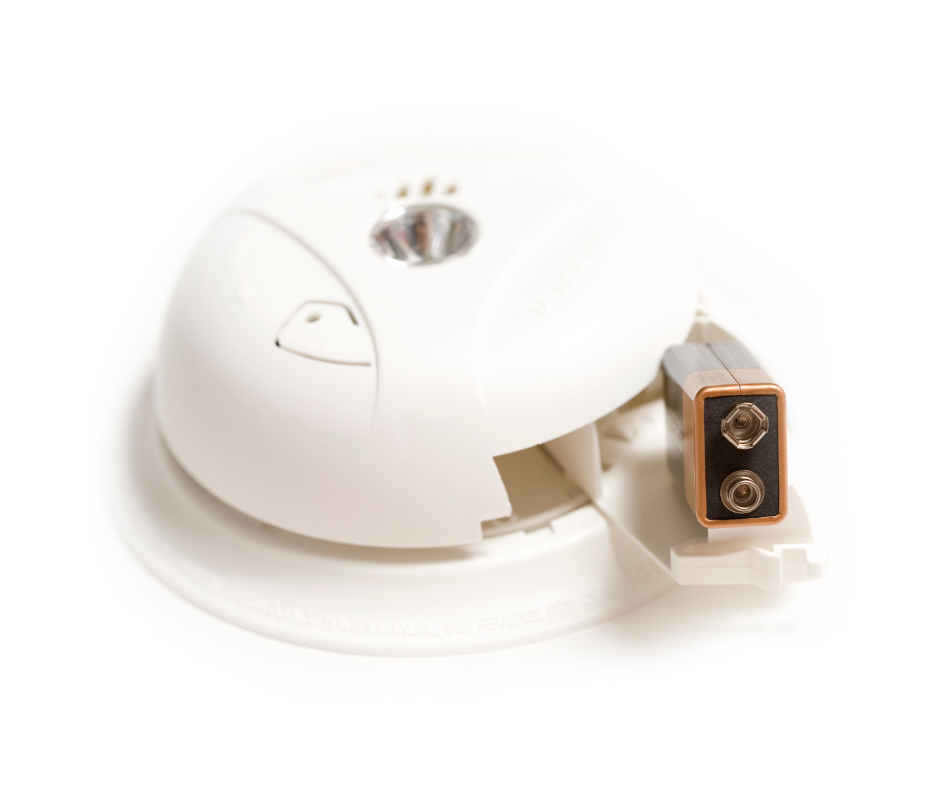
Over time, batteries in your thermostat can lose their charge, leading to issues with performance. To replace them, begin by gently removing the thermostat’s faceplate. You’ll find the battery compartment either on the back of the faceplate or inside the wall-mounted base. Make sure to note the orientation of the old batteries before removing them to ensure you install the new ones correctly.
Insert fresh batteries, checking the plus and minus signs to match the proper alignment. Once the new batteries are in place, reattach the faceplate securely. This quick maintenance step can often resolve responsiveness issues and keep your thermostat functioning smoothly. Regularly changing the batteries as recommended by the manufacturer can prevent unexpected HVAC disruptions.
Knowing When to Consult an HVAC Professional
If you’ve gone through all the troubleshooting steps and your thermostat is still acting up, it might be time to bring in a professional heating and cooling technician. HVAC systems can be complex, and some issues may be beyond the scope of simple fixes. For instance, if you’ve verified the power, checked the settings, inspected the wiring, and ensured proper calibration, yet the problem persists, there could be deeper issues at play.
Residential and commercial HVAC companies have the training and specialized tools needed to diagnose and fix intricate problems. They can identify faults in the internal components of the thermostat or potential issues with your heating and cooling system itself. Additionally, they can provide a thorough inspection to ensure everything is functioning safely and efficiently, which can be crucial for maintaining a comfortable and safe home environment.
Hiring a professional HVAC company can also save you time and reduce stress. Instead of spending hours trying to pinpoint an elusive issue, a technician can often identify and resolve the problem more quickly. This can be particularly beneficial if the weather is extreme and you need your heating or cooling system to be operational as soon as possible.
It’s important to choose a reputable HVAC technician with good reviews and proper certification. Doing so ensures that you receive quality service and reduces the risk of future problems. Remember, there’s no shame in asking for help—taking this step can ultimately provide peace of mind and restore comfort to your home efficiently.
Conclusion
By following the steps you have learned here today, you should have no problem successfully troubleshooting any problems you may have with your thermostat in the future. For more heating and cooling tips, be sure to read our following realted articles.

